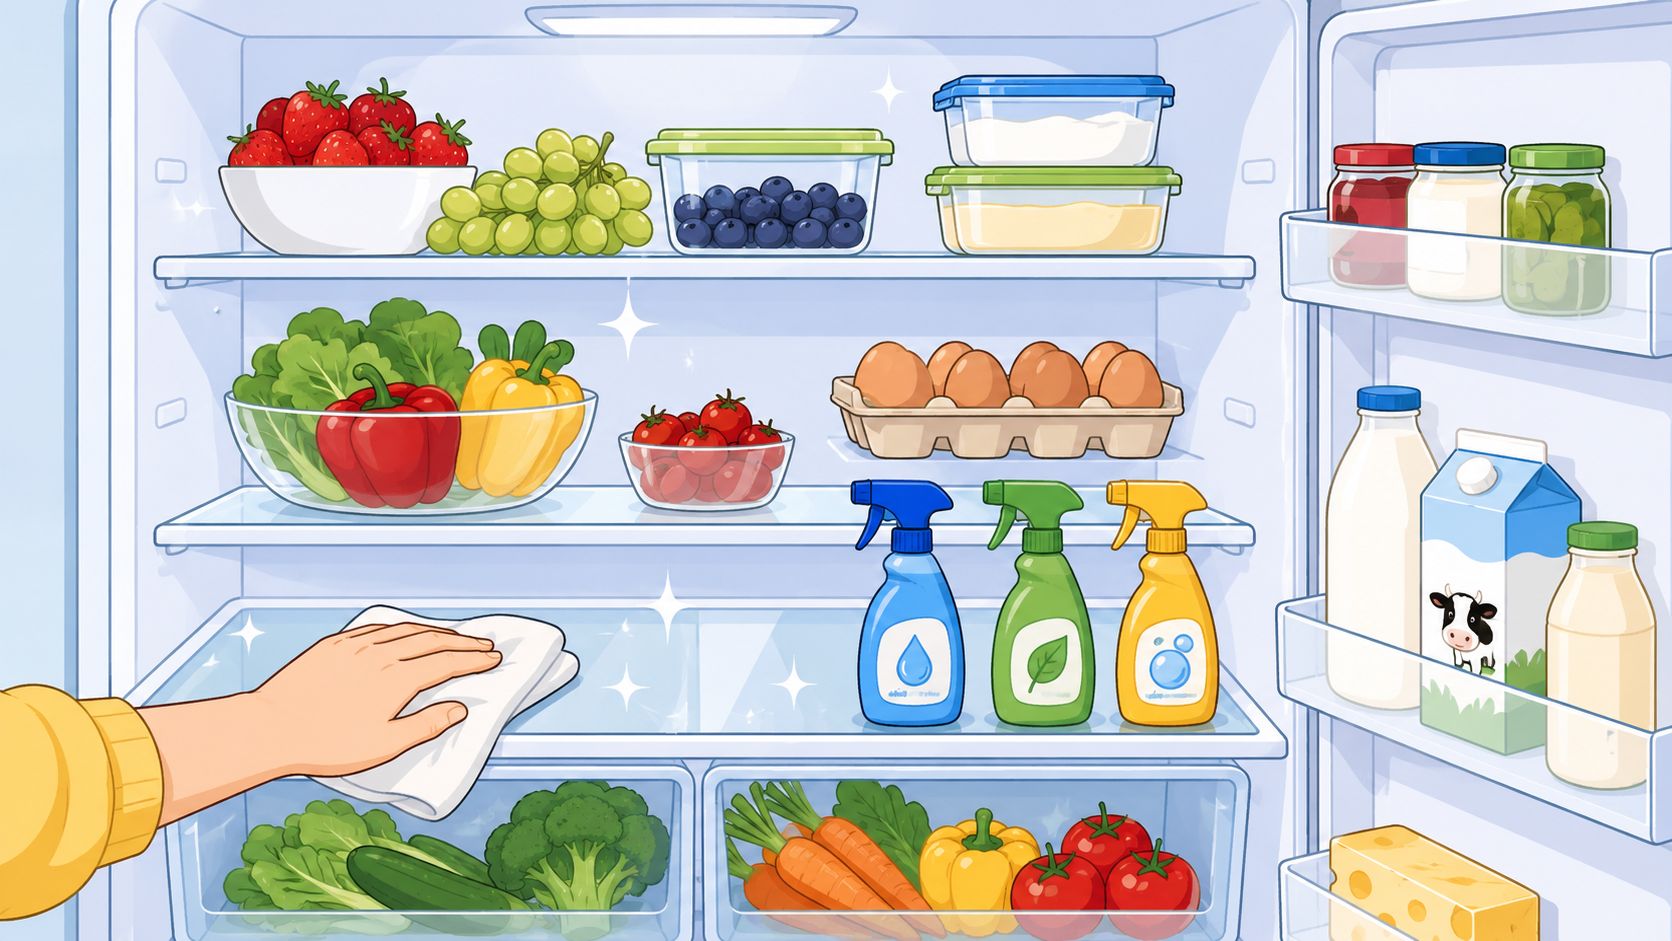
You open the refrigerator and find the same small disaster people always find at the worst time, a sticky spill under the crisper, a faint smell from the back corner, and a shelf that looks clean until you lean in. That is usually when the temptation starts, grab the strongest spray, wipe fast, and move on. In a fridge, that instinct can backfire. Food-contact surfaces need a cleaner that removes soil, respects the material, leaves little to no residue, and still fits the safety rules of a place where milk, cut fruit, and leftovers sit every day.
That is why the best cleaner for fridge use is usually not a flashy specialty product. It is a fit-for-purpose routine built around gentle cleaning, controlled sanitizing, and thorough drying. That basic approach matches mainstream appliance guidance, which favors warm water, dish soap, vinegar, or baking soda for tougher spots, plus complete drying before food goes back in (Whirlpool refrigerator cleaning guidance). It also aligns with the practical food-safety view that fridge cleaning is part of a larger sanitation system, not a single bottle decision.
For BacteriaFAQ.com readers, the better question is not “What brand should I buy?” It is “What does this cleaner need to do on this surface, with this spill, in this food-storage space?” That framing matters whether you're cleaning at home, managing a daycare kitchen, or trying to keep a shared staff fridge from turning into a cross-contamination problem. A good hygiene source for broader incident tracking is consolidated event reporting, because cleaning decisions often make more sense when you look at patterns, not isolated messes.
Why Your Fridge Cleaner Choice Matters More Than You Think
A fridge spill never starts as a cleaning problem. It starts as a piece of real life, a tipped yogurt cup, a raw chicken package that leaked, or a container you meant to throw out last week. The next step is usually the wrong one, people reach for a harsh spray because it feels more powerful than soap and water. In a refrigerator, stronger does not automatically mean better.
Food contact changes the rules
Fridge interiors are not like a bathroom tile or a garage floor. They hold food, so the cleaner has to respect food-contact safety, surface compatibility, and residue risk at the same time. Whirlpool and KitchenAid both steer users toward mild, non-abrasive cleaning, then recommend drying every surface completely before refilling the fridge (Whirlpool). That advice exists for a reason. Residue left on a shelf can touch tomorrow's food, and moisture left in seams can support odor and contamination.
The other reason fridge cleaning is different is timing. Food can't sit out forever while you scrub. Wirecutter recommends keeping the room below 72 °F, using a cooler or ice-filled sink, and cleaning in five-minute bursts with 30-minute waiting periods between sections (Wirecutter refrigerator cleaning guide). Whirlpool adds the general safety rule that food should not sit outside the fridge for more than two hours (Whirlpool). Those details turn “clean the fridge” into a short workflow with a safety clock attached.
Practical rule: if a cleaner leaves a smell, film, or sticky feel after drying, it probably isn't ideal for a fridge shelf.
The easiest way to think about it is this. A fridge cleaner should remove grime, help control germs, fit the material, and rinse or dry cleanly. If a product does only one of those well, it's probably the wrong tool for the job.
What the Best Cleaner for Fridge Use Actually Needs to Do
The phrase best cleaner sounds simple until you break it into the specific demands of a refrigerator. A fridge cleaner has to lower microbial risk, stay safe around food, avoid damaging plastics or rubber seals, and leave very little residue. If one of those fails, the whole job suffers.
The four things that matter most
A useful checklist looks like this:
- Effective reduction of germs: The cleaner has to do more than smell fresh. It should reduce bacteria, and in some cases fungi and viruses, on hard nonporous surfaces.
- Food-safe after rinsing: Anything used inside the fridge should leave no toxic residue where food is stored.
- Cleans without damage: Plastics, glass shelves, stainless steel exteriors, and rubber gaskets all react differently to cleaners.
- Low residue and easy rinsing: A fridge is not a place for heavy film, strong scent, or sticky leftovers from the cleaner itself.

The order matters. In a household fridge, food-contact safety and low residue usually outrank brute-force chemistry, because the surface you clean today may hold lunch tomorrow. That is also why professional guidance separates soil removal from sanitization. The CDC recommends washing removable parts and the empty interior with hot soapy water, then applying a sanitizer afterward (CDC cleaning refrigerator infographic). If you skip the first step, organic residue can interfere with the second.
Home Depot's cleaning guide reflects the same split by surface, mild dish soap or non-abrasive cleaner for interiors, stainless steel cleaner for steel doors, and baking soda paste for stubborn residue (Home Depot refrigerator cleaning guide). That is the decision tree. Not “which bottle is strongest,” but “which formula fits this surface and this level of contamination.”
A fridge cleaner should be judged the way you'd judge a dishwashing method, by what's left behind as much as by what got removed.
Comparing the Most Common Active Ingredients
Common consumer choices often include six options. The right one depends on the job, not the label on the bottle. A jam spill, a milky drip, and a suspected raw-meat leak call for different cleanup choices because the main question is food-contact safety, residue risk, and whether the surface needs a true sanitizer or just a cleaner.
| Ingredient | Microbial Efficacy | Food-Contact Safety | Best For |
|---|---|---|---|
| Diluted chlorine bleach | Strong sanitizer when used correctly | Requires careful rinsing and drying | Suspected contamination, nonporous interior surfaces |
| Quaternary ammonium compounds | Common in disinfectant wipes, can be effective on hard surfaces | Depends on label and rinse instructions | Quick wipe-downs on compatible hard surfaces |
| 3% hydrogen peroxide | Useful on some surfaces, moderate disinfecting role | Can be used carefully, but follow product directions | Spot treatment for clean, nonporous areas |
| 70% isopropyl alcohol | Fast-drying, useful for targeted spots | Not ideal for broad food-contact cleaning | Small jobs, gasket touch-ups, quick drying surfaces |
| White vinegar | Good degreaser, mild odor control | Food-friendly in simple household use | General wipe-downs, light soil, odor control |
| Plain dish soap | Excellent for soil removal | Very compatible with fridge interiors | First-step washing of shelves, drawers, and walls |
What each one is good at
Diluted chlorine bleach is the clearest sanitizer in the options here, but it needs careful use because overuse can leave residue and stress some materials. The CDC gives a sanitizing ratio of 1 tablespoon of liquid chlorine bleach per 1 gallon of water for already-clean surfaces. For a contamination event, such as a raw meat leak, a stronger bleach solution is used, with about 10 minutes of contact time before rinsing and drying. Clean first, sanitize second. The CDC guidance fits that order, because grime gets in the way of disinfectants reaching the surface.
Quaternary ammonium compounds are common in disinfectant wipes, and they can be practical for fast wipe-downs on the right surfaces. The catch is simple, check whether the wipe is meant for food-contact areas and whether the surface needs rinsing afterward. A wipe that leaves a film can be a poor choice for shelves that hold produce or leftovers.
Hydrogen peroxide and isopropyl alcohol are better for targeted applications than for broad, all-purpose fridge cleaning. Hydrogen peroxide can fit some clean, nonporous spots, while alcohol dries quickly and can help with small touch-up jobs on gaskets or similar areas. For a closer comparison of the two, see Bleach vs. Hydrogen Peroxide. White vinegar helps with grease and odors, but it does not replace a true disinfecting step. Plain dish soap remains the workhorse for soil removal, which is why it shows up in nearly every credible fridge-cleaning guide.
For a cleaner choice that also keeps indoor air concerns in mind, an eco-friendly indoor air solution can be a useful reference point when you are deciding how much chemical residue you are comfortable leaving behind.
Concentrations, Contact Times, and What Effectively Kills Germs
A wipe that flashes wet for two seconds is not the same thing as a disinfectant treatment. In fridge cleaning, contact time matters because the chemistry has to stay wet long enough to work. A cleaner that dries too fast can leave visible shine and still miss the job. That is why many DIY routines fail, they remove soil but never give the active ingredient enough time on the surface.

The bleach numbers that matter
The CDC recommends 1 tablespoon of liquid chlorine bleach per 1 gallon of water for sanitizing already-clean, nonporous surfaces. For a contamination event, such as a raw meat leak, a stronger 1 cup bleach per 1 gallon water solution is used, with about 10 minutes of contact time before rinsing and drying (HD Cleaning Services). The plain-English point is simple. Clean first, sanitize second.
That sequence matters because grime blocks disinfectants from reaching the surface. If the shelf is still greasy or sticky, the sanitizer has to work through the mess before it reaches the microbes. The right order is wash with hot soapy water, then sanitize, because residue is like a jacket on the surface, it keeps the active ingredient from touching what you want to remove.
The CDC also includes a visual guide to bleach-to-water ratios and contact times for kitchen surfaces, which is useful when you are comparing a light sanitizing pass with a heavier cleanup after a spill, A helpful infographic outlining CDC recommended bleach-to-water ratios and contact times for effective kitchen surface disinfection.

Where vinegar and alcohol fit
White vinegar is still useful, but mainly as a household cleaner for light soil and odor. Its role is closer to a maintenance rinse than a true sanitizer, so it helps with surface freshness without replacing a disinfecting step after contamination. Alcohol has a different rhythm. It dries quickly, which makes it useful for small touch points, but that same speed can work against you if a surface needs a longer wet period.
Contact time varies by ingredient, and that is where many people get confused. A product that smells strong can still be weak if it evaporates before it has time to work. A product that stays wet longer can be more useful on a fridge shelf, gasket edge, or drawer lip, provided it is meant for food-contact areas and used the way the label directs.
White vinegar and alcohol also fit different jobs in the cleaning sequence. Vinegar is better for everyday wipe-downs and odor control. Alcohol is better for targeted touch-ups where a fast-drying cleaner makes sense, not for replacing a full sanitizing step after a spill or a spoiled-food leak.
If you want a cleaner that also keeps indoor air concerns in mind, an eco-friendly indoor air solution can be a useful reference point when you are deciding how much residue you are comfortable leaving behind. The key is still the same, match the product to the surface and the situation, then give it the wet time it needs.
A Step-by-Step Cleaning Protocol That Actually Works
The easiest way to ruin fridge cleaning is to improvise while the door is open and food is warming up. A better plan keeps the room cool, stages the food, and uses short work sessions so you don't lose track of what has been cleaned and what hasn't.

The weekend workflow
- Prepare the space. Set up a cooler with ice for perishables, and keep the room as cool as you can. If you're cleaning in sections, use the Wirecutter rhythm of five-minute bursts with 30-minute waiting periods between them, so the food is not out for long (Wirecutter).
- Empty the fridge fully. Take out food, shelves, drawers, and door inserts. Keep highly perishable foods like milk or raw chicken in the cooler or freezer while you work (CNN Underscored).
- Wash removable parts. Use hot soapy water on shelves, drawers, and inserts. That removes soil before any sanitizer is applied (CDC).
- Clean the empty interior. Wipe the walls, ceiling, and door compartments with your chosen cleaner, usually a mild solution unless you're dealing with a contamination event.
- Disinfect if needed. Apply the correct bleach solution or another approved sanitizer to the already-clean surface, and keep it visibly wet for the required contact time.
- Dry, reassemble, reload. Dry every surface completely before putting parts back and returning food.
Practical rule: if you can still feel moisture on a shelf or gasket, it's not ready for food yet.
Drying is not a cosmetic detail. Whirlpool and KitchenAid both stress complete drying before food goes back in, and Simple Green repeats the same warning for the interior, shelves, drawers, seals, and handles (Simple Green refrigerator cleaning tips). Moisture invites odor, mold, and the kind of hidden residue that makes a fridge smell “not quite clean” even after a full scrub.
How Often to Clean and When a Routine Clean Is Not Enough
The usual advice says clean every three to six months. That's a decent baseline, but it misses the bigger point. Risk triggers matter more than the calendar.
Clean now, not later, when the situation changes
A full clean is warranted when any of these happen:
- Raw meat leaks: Juices on a shelf or in a drawer need immediate attention.
- Spoiled leftovers: A bad smell often means contamination has spread beyond the container.
- Household illness: Shared hands, shared food, and frequent door use raise the stakes.
- Shared fridges: Daycares, gyms, staff kitchens, and similar spaces need faster intervention.
- Visible mold: If you can see growth, the problem is already beyond routine wipe-downs.
A refrigerator also has hidden trouble spots that need more frequent attention than the main shelves. Gasket crevices, drip pans, and seam lines collect grime that regular cleaning can miss. That is why a calendar schedule alone is not enough, especially in higher-traffic environments.
For a deeper look at timing, the guide at How Often to Clean a Refrigerator is useful because it treats cleaning as a response to use, not just a date on the wall. That approach fits food-service kitchens, daycare fridges, and any home where the refrigerator gets opened constantly.
The rule is straightforward. If the fridge has had a spill, a leak, a sickness event, or a visible contamination problem, don't wait for the quarterly clean. Clean it now, and pay extra attention to seals, drawers, and drip zones.
Biofilm, Gaskets, and Cross-Contamination Mistakes to Avoid
A fridge can look tidy and still be harboring trouble in the folds. That trouble often lives in biofilm, a sticky layer that helps bacteria cling to surfaces and makes a quick wipe feel successful when it really isn't.

Where grime hides
Gasket folds, drip pans, drawer seams, and the edge where plastic meets plastic are the usual problem areas. A soft brush and hot soapy water work better there than a rushed spray-and-wipe pass. Gently pull back the gasket, scrub the folds, rinse, then disinfect if needed. Remove and wash drip pans too, because hidden moisture and food residue can keep the cycle going.
The other mistake is cross-contamination. Raw meat juices should never sit above produce, and a spill from one shelf can travel to the next if it isn't contained. Vinegar alone is not enough after a raw chicken leak, because you need actual soil removal and, when appropriate, a true sanitizer step.
A few habits make things worse:
- Abrasive scrubbers on plastic: They can scratch interior surfaces and make them harder to clean later.
- Mixing bleach with vinegar or ammonia: That's unsafe and can create dangerous fumes.
- Using the wrong cleaner on seals: Rubber gaskets need gentle handling, not harsh solvents.
For more detail on stubborn buildup, How to Remove Biofilm is a good reference point. The important lesson is simple. In a fridge, the corners and folds often matter more than the broad surfaces. A shelf that shines can still be unsafe if the gasket and drawer track were ignored.
Quick Answers and a Practical Takeaway
Vinegar alone is not enough for a contaminated fridge interior. It can help with odors and light soil, but it does not replace a proper wash and sanitize step. If you're buying grocery-store fridge sprays, look for products that are clearly labeled for food-contact use and follow the label exactly. Stainless steel exteriors need a different product than the interior, and they should be wiped with the grain. Dishwasher detergent can be too harsh for some plastics, though it may be fine on glass shelves if rinsed well.
The simplest rule is the best one. Choose the cleaner by surface and risk, not by brand hype. Use dish soap or another mild cleanser for soil removal, use the right sanitizer only when needed, and dry everything thoroughly before the food goes back in.
If your fridge had a spill, a leak, or a shared-use contamination event, clean it right away instead of waiting for the next routine day. For more practical hygiene guidance, visit BacteriaFAQ.com, then keep one reliable cleaner, one proper sanitizer, and one dry cloth ready for the next time that fridge door opens.
Leave a Reply