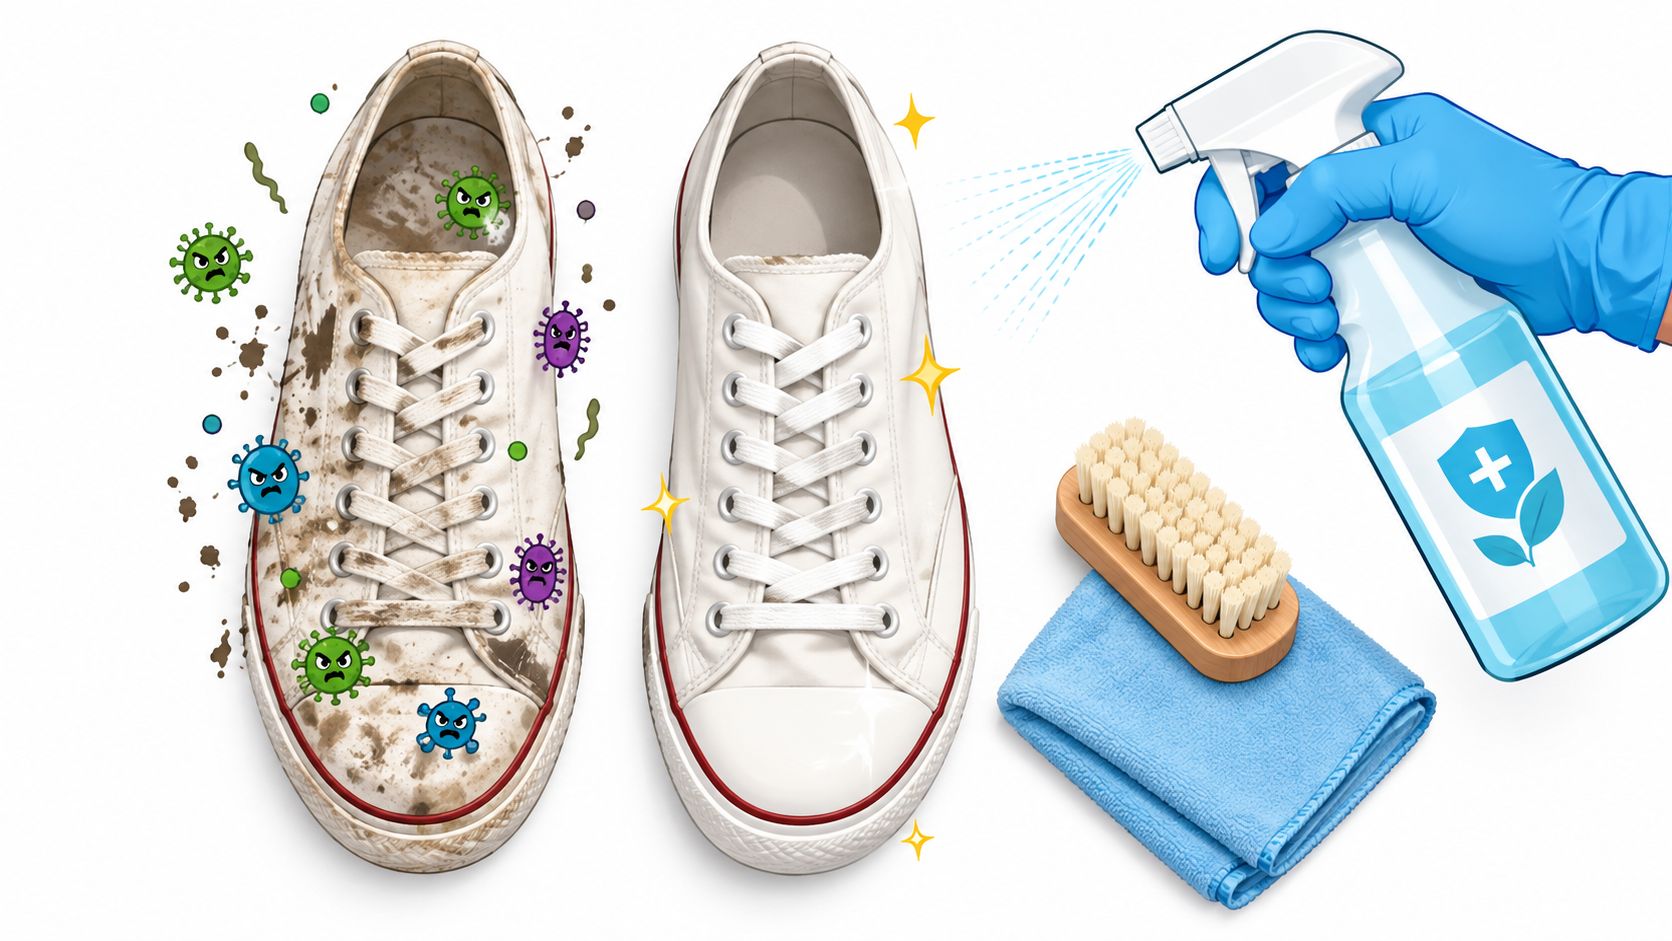
You've found the pair: the right size, barely worn, and priced too well to leave behind. Then you notice the faint smell inside, the grime packed into the tread, or a mark on the insole. That hesitation is useful. Learning how to disinfect thrifted shoes safely means treating contamination and material damage as separate problems.
The practical target isn't sterile footwear. It's meaningful risk reduction without destroying leather, suede, foam, adhesives, or fabric. Clean visible soil first, select a product whose label fits the material and organism, keep the surface wet for the required contact time, and know when a pair should be discarded.
What Secondhand Shoes Can Carry
A secondhand shoe brings an unknown history to your doorstep. It may have crossed gym floors, food-service corridors, public bathrooms, household floors, or healthcare environments before reaching the thrift rack. Often, that means a manageable cleaning job. Sometimes, visible damage, persistent odor, or contamination in inaccessible areas makes the pair a poor candidate for treatment.
A peer-reviewed study of athletes' shoes found general aerobic bacteria and Staphylococcus species on every shoe in a tested group of 62 before treatment. The same group included Enterococcus species on 22 shoes, Escherichia coli on 6, and coliform bacteria on 13. Following the tested sanitization procedure, reductions ranged from 81.4% to 93.5% for aerobic bacteria, 79.1% to 86.8% for Staphylococcus species, and 75.5% to 94.4% for Enterococcus species. E. coli and coliform contamination declined by 100%, with no positive shoes remaining in either category. The full study explains the tested procedure and its limits.

What the sole can carry
The upper touches your skin, but the outsole encounters the widest range of dirty surfaces. A systematic review identified 13 studies supporting shoe soles as potential vectors for infectious pathogens, including MRSA, Clostridioides difficile, and multidrug-resistant Gram-negative bacteria in healthcare, community, and food-worker settings. A related environmental review reported that up to 40% of shoe soles in non-healthcare settings were contaminated with toxigenic C. difficile. The review also stresses that disinfectant needs adequate contact time to work.
Those findings do not mean every thrifted shoe carries a dangerous pathogen. They support a practical starting assumption: contamination may be present, particularly in tread, seams, and removable insoles. Bacterial cleaning also differs from pest control, so households managing fabrics, rugs, or pet areas should use a separate pet-safe flea prevention guide.
Practical rule: Treat the shoe as a contaminated object until it has been cleaned, while recognizing that cleaning is not sterilization.
For broader context, this guide explains how long germs live on surfaces. The rest of this guide turns that assumption into a material-by-material procedure.
Pre-Clean Before You Disinfect or Nothing Works
Disinfectant works best when it can touch the surface. Mud, sweat, skin debris, food residue, and grease can shield microorganisms from the active ingredient. Dirt also fills tread grooves and seams, creating air pockets where a wipe or spray never reaches.
Start outdoors or over a washable utility surface. Put on gloves, remove loose dirt from the outsole, and use an old toothbrush to work through the tread. Brush from the upper edge of the outsole toward the bottom so you're not pushing grime deeper into fabric or stitching.

A low-moisture cleaning sequence
- Isolate the pair. Keep thrifted shoes away from clean floors, beds, kitchen counters, and other belongings until inspection is complete.
- Remove loose debris. Brush or wipe the outsole first, then the upper. A damp microfiber cloth is enough for many synthetic surfaces.
- Separate removable parts. Pull out laces and insoles. They trap sweat, dirt, and moisture, and treating them separately is more reliable.
- Use detergent only where permitted. Washable mesh or fabric can usually be handled according to the manufacturer's care instructions. Rinse thoroughly.
- Let the shoe become visibly clean and reasonably dry. Don't apply disinfectant over mud or a wet detergent film.
Leather and suede need restraint. Pre-wetting them as a “prep” step can cause staining, dye movement, stiffness, or water marks before disinfection even begins. Use a material-appropriate cleaner sparingly, and test an inconspicuous area first.
The sequence matters more than force. A vigorous scrub that damages the nap, coating, or stitching can create new places for moisture to collect. For general cleaning principles, this resource on cleaning and disinfecting is a useful reference, but footwear still requires the manufacturer's care instructions and the disinfectant label.
Match the Disinfectant to the Material, Not the Other Way Around
There's no universal shoe disinfectant. A product that performs well on a hard, non-porous surface may be unsuitable for suede, foam, porous canvas, or an insole adhesive. The label has to match both the organism claim and the surface type.
| Material | Compatible Methods | Avoid | Notes |
|---|---|---|---|
| Canvas | Manufacturer-approved washing with detergent; product labeled for compatible porous or textile surfaces | Unapproved bleach soaks; prolonged saturation | Rinse thoroughly and dry completely |
| Mesh | Detergent cleaning when permitted; labeled textile disinfectant | Heavy liquid pooling in foam or glued seams | Work into fabric without flooding the shoe |
| Leather | Light cleaning; carefully tested, material-compatible product | Soaking, aggressive chlorine, indiscriminate alcohol application | Condition only after the material is clean and dry |
| Suede | Dry brushing; carefully selected product specifically permitted for suede or the relevant surface | Saturation, bleach, harsh scrubbing | Preserve the nap and stop if color transfers |
| Synthetic or rubber | Compatible disinfectant wipes or sprays; targeted outsole treatment | Products not labeled for the surface | Check for coating, printed graphics, and adhesive seams |
The material trade-off
Washable canvas and mesh offer the clearest route because detergent cleaning can remove soil from more of the structure. Follow the care label, rinse thoroughly, and dry fully before any additional treatment. A washable shoe still isn't automatically compatible with every disinfectant.
Leather and suede are where internet shortcuts cause the most damage. Liquid can darken leather, strip finishes, flatten suede, loosen adhesives, or leave a damp interior. Clean lightly, use only a product whose label permits the material, and accept that a shoe may be clean enough without being drenched.
Synthetic uppers and rubber outsoles usually tolerate targeted wiping better, but “synthetic” doesn't guarantee chemical resistance. Printed designs, foam midsoles, coatings, and glues can react differently from the main upper.
For unusual finishes such as Crazy Horse leather, consult specialized Crazy Horse leather care tips before applying liquid. The correct method is the one that reduces contamination while preserving the shoe's structure.
Read the EPA Label Before You Trust the Wipe
A wipe can look convenient and still be wrong for a shoe. The front may promise broad germ-killing performance, while the back specifies the organisms, surfaces, and exposure time the product has been evaluated for. EPA defines a disinfectant as a substance that destroys or irreversibly inactivates bacteria, fungi, and viruses on inanimate surfaces, although it may not destroy bacterial spores. Read the registered label before treating any material.

Start with four checks:
- Find the organism claim. Look for the named bacterium or strain, not only “kills bacteria.” A label may list Pseudomonas aeruginosa ATCC 15442, Staphylococcus aureus ATCC 6538, or CA-MRSA USA400 ATCC BAA-1683.
- Confirm the surface. The directions should cover hard, non-porous surfaces, porous materials, textiles, or the specific footwear material. A product approved for a countertop is not automatically approved for suede or fabric.
- Locate the contact time. The shoe must remain visibly wet for the full interval. One EPA label lists a 1-minute bacterial contact time for named organisms, while other labels specify 5 minutes or 10 minutes for particular claims and hard, non-porous surfaces. EPA's registered disinfectant information explains why the label controls use. For a curated overview of registered products, see this EPA-registered disinfectants list.
- Check the registration details. On a physical label, look for an EPA registration number, commonly shown as “EPA Reg. No.” followed by the product's identifying number. Match that label to the directions, rather than relying on a retailer's description.
- Maintain wetness. Reapply product if the wipe dries before the stated interval. Drying early means the required exposure was not maintained.
The CDC notes that disinfectant only treats areas it directly contacts. Soil, crevices, air pockets, and incomplete coverage can shield microorganisms. Its guidance on disinfection efficacy factors supports cleaning first, covering compatible surfaces completely, and timing the entire label interval. This EPA label illustrates how claims and dwell times differ.
Insoles, Laces, and Odor the Parts Everyone Skips
A shoe can look clean while its insole still holds sweat, skin debris, and moisture. Remove the insole before treating the upper. Inspect it and the laces for staining, cracking, mold, or material breakdown. If either part is damaged or persistently odorous, replacement may be safer than repeated chemical treatment.
Handle each removable part according to its material and care label:
- Brush away loose debris while everything is dry.
- Wash fabric insoles or laces only when their instructions permit it, using detergent and thorough rinsing.
- Put washable laces in a mesh laundry bag if the label allows machine washing.
- Apply a labeled fabric product only when its directions cover the textile or porous surface. Keep the material visibly wet for the complete contact time.
- Use baking soda overnight for odor absorption, then remove every trace. It can reduce smell, but it does not disinfect.
Laces are inexpensive to replace, and replacement can prevent old soil from returning to a cleaned upper. Insoles deserve the same scrutiny. Foam, adhesives, and enclosed padding may retain odor or contamination beyond the reach of a surface wipe.
Odor that returns after careful cleaning and complete drying is useful evidence. It can point to dampness or material breakdown inside the shoe, not a dirty surface. Repeatedly adding chemicals rarely solves that problem and may increase residue or damage. If the smell persists, the insole is stained beyond recovery, or the interior cannot dry fully, discard or replace the affected part.
For footwear handled around animals, read guidance on which antiseptic wipes are safe and keep species, material compatibility, and ingredient safety separate. A product suitable for one use is not automatically appropriate for a shoe or for direct skin contact.
Why Bleach Soaks and DIY Hacks Usually Backfire
A thrifted shoe can look washable until bleach discolors the upper, alcohol strips its finish, or a dishwasher loosens the sole. The problem is not only whether a method kills microbes. It is whether the material, adhesive, and product label can tolerate the treatment and still dry completely.
Bleach immersion damages materials. Leather may discolor, suede can lose its nap, and dyes or printed details may bleed. Glued construction can soften or separate. A bleach solution may also penetrate unevenly, leaving seams, folds, and padding untreated while pushing soil farther into porous canvas, mesh, foam, or textile interiors.
Undiluted rubbing alcohol has its own limits. It can dry leather, affect coatings, and evaporate before the required contact time ends. Fast evaporation does not equal disinfection when the surface must remain visibly wet for a labeled period.
Dishwashers add heat, water pressure, and prolonged dampness. Footwear may deform, foam can break down, and adhesives may loosen. Even if the outside looks clean, trapped moisture inside the shoe can support mold growth and bring back persistent odor.
Chemical mixing creates a separate hazard. Never combine disinfectants with bleach, acids, ammonia, or other household chemicals. Follow the product label rather than improvising a stronger concentration or longer soak.
The workable alternative is controlled and less dramatic: remove soil first, use a product only on surfaces named by its label, keep that surface wet for the complete contact time, and dry the pair in moving air. A hard-surface product is not automatically suitable for porous footwear. If you cannot confirm the surface claim, stop there. Discarding a pair is safer than damaging the material, trapping contamination, or leaving the interior wet.
When to Sanitize, When to Toss, and What Good Enough Looks Like
A thrifted pair does not need to be sterile to be wearable. Sanitization has a narrower job: reduce contamination to a reasonable level without ruining the material or leaving the interior damp. The athletic-shoe study cited earlier found substantial reductions in aerobic bacteria, Staphylococcus species, and Enterococcus species, with E. coli and coliforms no longer detected in the treated group. Those results support careful treatment, not a promise that every home-cleaned shoe is sterile.
The sole-treatment review discussed earlier also found that tested alcohol and quaternary-ammonium treatments reduced contamination. Those findings are benchmarks for specific products and conditions, not a universal recipe. Material compatibility, label directions, and complete wet contact time still control the decision.
Use this decision framework
Sanitize when:
- The shoe has ordinary dirt, odor, or used-surface contamination.
- The material can be cleaned without saturation.
- You can identify a legally registered product whose label covers the organism and surface.
- The shoe can dry completely after treatment.
Stop and discard when:
- The shoe has visible feces, vomit, blood, or other biological contamination.
- Mold or mildew has penetrated the interior, or the structure is breaking down.
- Persistent odor remains after careful cleaning and complete drying.
- The pair came from a healthcare or suspected outbreak setting and reliable home treatment is not possible.
- Holes, delamination, crushed foam, or damaged seams create inaccessible damp spaces.

For heavily soiled athletic or work shoes, one controlled study found its strongest tested result after brushing the soles, wiping them with a towel soaked in 1% Virkon S, and drying with paper towels. 18 of 20 shoes, or 90%, met that study's disinfection standard. The study is available through PubMed Do not turn that result into a home formula. Use the product or concentration only when the exact label permits it for the intended surface.
After treatment, isolate the shoes while they dry. Clean the work surface, launder or discard contaminated cloths, and wash your hands after removing gloves. Choose a product whose label matches the material, organism, and contact time, then follow those directions exactly. If you cannot verify that match, discard the pair rather than guessing.
Leave a Reply