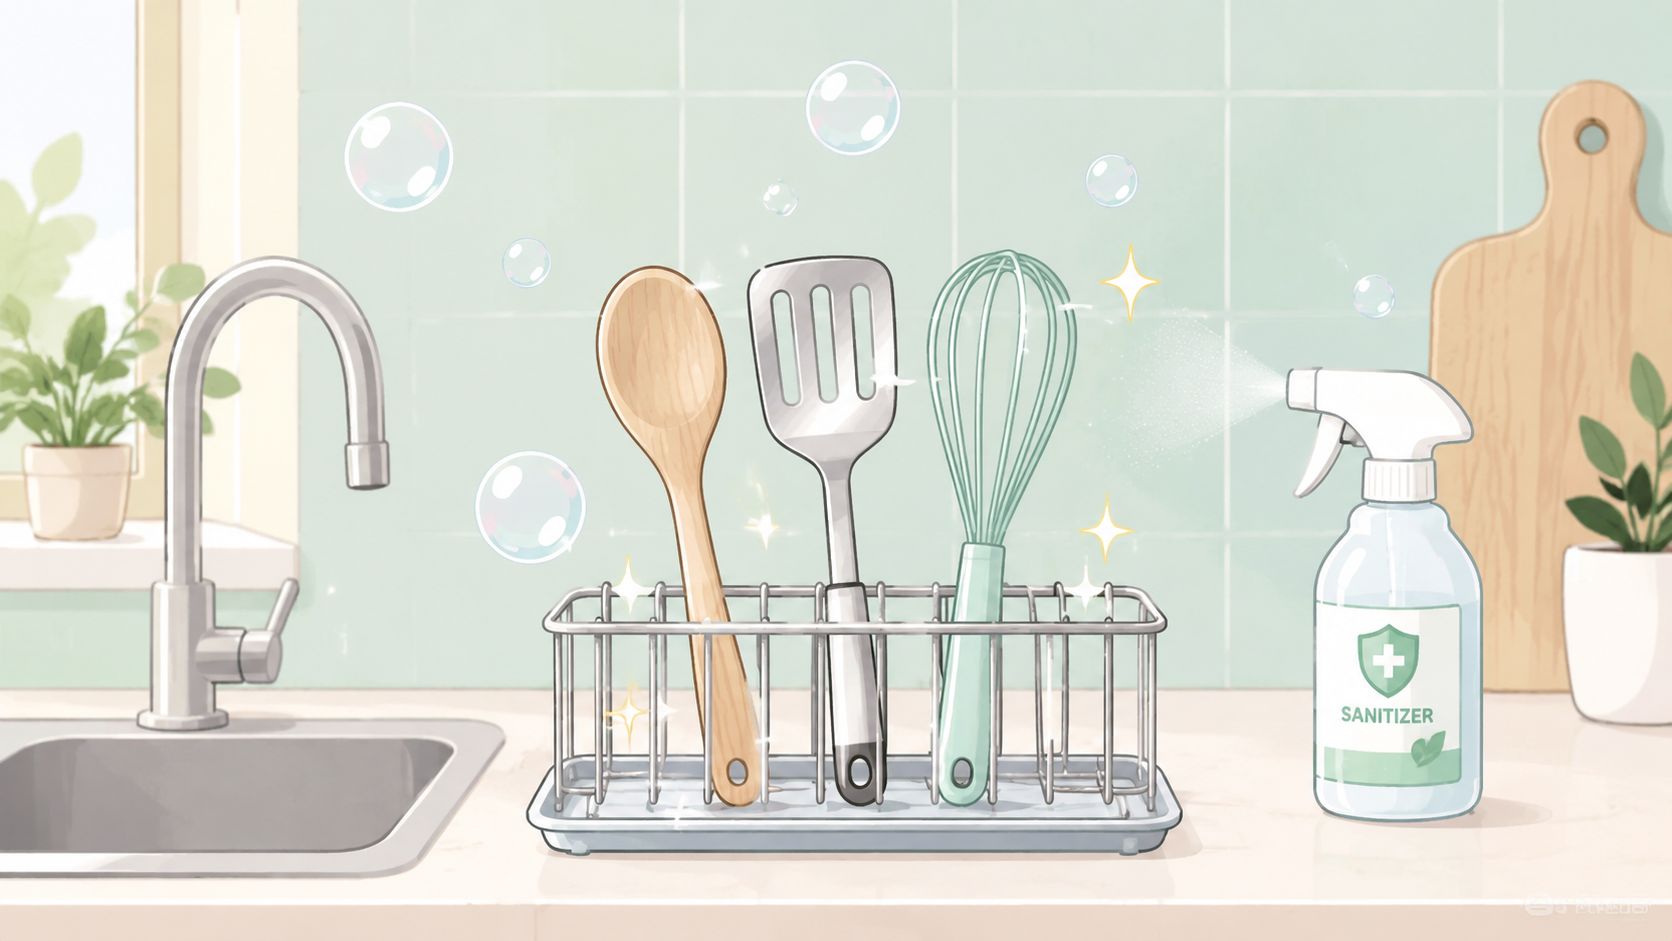
You've just finished washing a cutting board, spatula, and serving spoon. They look clean, the grease is gone, and the sink is full of warm suds. That doesn't automatically mean the utensils are sanitary. A clean surface can still carry harmful bacteria when washing removes food residue without delivering a controlled sanitizing step.
Knowing how to sanitize kitchen utensils means controlling the entire process, from scraping and washing to chemical concentration, contact time, drying, and the condition of your sponge or brush. The right method also depends on whether the utensil is stainless steel, plastic, wood, or silicone. A quick rinse is convenient, but it isn't a food-safety procedure.
Understanding the Difference Between Cleaning and Sanitizing
Cleaning and sanitizing solve different problems. Cleaning removes food, grease, and visible soil with detergent and mechanical action. Sanitizing reduces harmful microorganisms to a level considered safe for food-contact use, but it works reliably only after the surface has been cleaned.
A greasy spoon illustrates the problem. Organic residue can shield bacteria from heat or chemical sanitizer, so immersing the spoon in a sanitizer bath before washing may leave contamination protected beneath the residue. Sanitizing also isn't the same as sterilizing. A kitchen workflow aims to control contamination on food-contact utensils, not create a laboratory-free object.
Practical rule: If you can still see food, grease, or detergent film, the utensil isn't ready for sanitizing.
Sanitization becomes especially important after utensils touch raw meat, poultry, seafood, or eggs, after a suspected illness event, and when preparing food for infants, older adults, pregnant people, or anyone with a weakened immune system. Commercial kitchens should treat the step as part of a documented process rather than an optional finishing touch. Households don't need restaurant paperwork for every spoon, but they do need the same basic logic: remove soil first, then apply a validated sanitizing method.
The distinction also matters beyond illness prevention. Food residue, moisture, and neglected surfaces can attract insects and other pests. A useful overview of how cleanliness deters pests shows why sanitation belongs in a wider kitchen-maintenance routine, not only at the sink.
For a concise comparison of the terms, see this guide to the difference between cleaning and sanitizing. The working sequence is simple:
- Remove loose residue.
- Wash with detergent.
- Rinse with clean water.
- Sanitize with controlled heat or chemicals.
- Air-dry on a clean rack.
Sanitizing can't make a damaged, cracked, or permanently soiled utensil safe. It also can't compensate for contaminated hands, cloths, racks, or sinks. The process succeeds only when the utensil and the surrounding workflow are controlled together.
The Five-Step Sanitization Process Explained
Food-safety authorities publish a five-step sequence for utensils: remove residues, wash, rinse, sanitize, and air-dry. Hong Kong's Centre for Food Safety specifies hot-water treatment at 75°C or higher for 30 seconds, followed by air-drying, while comparable Australian guidance uses 77°C for 30 seconds. These closely aligned benchmarks show why heat must be measured by both temperature and time, not judged by how hot the water feels. Hong Kong's kitchen sanitation guidance also advises using clean gloves for the hot-water method because burn prevention matters during controlled thermal treatment.

Work through the sequence without shortcuts
1. Remove residues. Scrape food into a waste container and separate utensils that touched raw ingredients from those used for ready-to-eat food. Removing solids reduces the soil load that detergent and sanitizer must overcome.
2. Wash with detergent. Use a clean basin or sink, potable water, detergent, and a brush or scrubber suited to the utensil. Work into seams, hinges, textured handles, and the underside of slotted tools. Detergent loosens fats and proteins that water alone won't remove.
3. Rinse thoroughly. Rinse away loosened soil and soap with clean water. A detergent film can interfere with chemical sanitizer performance and can also leave an unpleasant residue on food-contact surfaces.
4. Sanitize. The heat option requires immersion at 75°C or above for 30 seconds, using equipment that can maintain the target temperature. The chemical option requires a product approved for food-contact use and a measured bath. One practical chlorine workflow yields 100 ppm available chlorine for at least 60 seconds, followed by air-drying without a rinse, when the product label directs that procedure. CDC and NIOSH guidance also notes 50 ppm chlorine or 12.5 ppm iodine at 75°F for at least one minute. The EPA product label for food-contact utensils provides the sequence and contact-time requirements for its labeled use.
5. Air-dry. Place utensils on a clean, draining rack with space around each item. Towels can transfer contamination back onto the surface, even when the towel looks fresh, so drying is part of sanitation rather than an afterthought.
Heat is convenient for stainless steel and other heat-tolerant items, but it can damage some plastics or finishes. Chemical sanitizer is more adaptable to material and temperature constraints, yet it demands accurate dilution, full immersion, and label compliance. Don't mix products, improvise concentration, or assume a stronger solution is automatically safer.
For a practical way to organize chemical dwell times, use this disinfectant contact-time chart. Remember that food-contact sanitizing and surface disinfection aren't interchangeable. Use only products whose label allows the intended food-contact application, and follow any required rinse instruction.
Material-Specific Sanitization Guidelines
A universal utensil method creates avoidable problems. Stainless steel generally tolerates controlled hot-water treatment well, while thin plastic can deform and wood can retain moisture in its grain. Silicone often tolerates heat, but its texture and odor retention can make thorough cleaning more demanding.
Match the method to the material
Stainless steel is usually the most forgiving choice for hot-water sanitation. Inspect rivets, seams, and handles, where residue can collect, and avoid abrasive products that scratch the surface. Scratches aren't automatically proof of contamination, but damaged surfaces are harder to clean consistently.
Plastic needs closer attention to manufacturer instructions. A warped spatula may no longer drain or sit cleanly on a rack, and deep knife marks can hold residue. When the material can't tolerate the available heat, use a labeled food-contact chemical sanitizer at the required concentration and contact time.
Wood is porous and should be washed promptly, sanitized only with a method compatible with the manufacturer's instructions, and dried completely in an open position. Discard wooden utensils that are cracked, splintered, swollen, or persistently odorous. Sanitizer can't reliably compensate for a surface that traps soil.
Silicone usually handles heat well, but inspect the junction between the silicone head and its handle. A removable design is easier to clean than a sealed crevice. If silicone retains grease or odor after proper washing, replace it rather than repeatedly increasing chemical strength.
| Material | Best method | Temperature or concentration | Precautions |
|---|---|---|---|
| Stainless steel | Controlled hot-water sanitation or labeled chemical sanitizer | Heat at 75°C or higher for 30 seconds, or follow the sanitizer label | Protect hands, inspect seams, and avoid surface damage |
| Plastic | Manufacturer-approved heat or chemical sanitation | Use the validated heat limit or the label concentration | Watch for warping, scratches, and cloudy residue |
| Wood | Prompt washing, compatible sanitation, and thorough air-drying | Follow the utensil and sanitizer instructions | Replace cracked, split, or persistently damp items |
| Silicone | Heat when approved, or a labeled chemical sanitizer | Use the validated temperature or label concentration | Check joints, odor retention, and hidden crevices |
Material care extends to surrounding items. If coffee residue has stained a mug or measuring tool, use a food-safe cleaning approach before sanitation. This guide to remove stains from coffee cups can help with the visible soil problem, but stain removal still must be followed by the appropriate food-contact sanitation step.
Common Sanitization Mistakes and How to Avoid Them
Many failed sanitation routines look sensible at first. Someone washes a utensil, pours a little bleach into a bowl, gives the item a quick dip, and puts it away. The problem is that food-contact sanitizers operate within specific concentration, temperature, and contact-time conditions. A brief wipe or an unmeasured splash doesn't provide reliable control.

The shortcuts that cause trouble
Rushing contact time is one of the most common errors. The utensil must remain fully exposed to the sanitizer for the complete labeled or validated period. EPA defines disinfectant contact time as the time a surface must remain visibly wet, and the same operating principle applies to any labeled product used on a permitted food-contact surface. If the product dries before the label time ends, more product may be needed. EPA's explanation of disinfectant contact time makes clear why a fast wipe isn't equivalent to a completed treatment.
Guessing concentration creates two risks. An under-strength solution may fail to sanitize, while an overly strong solution can damage materials or leave unacceptable residue. Measure according to the product label, change solutions when they become dirty or depleted, and use compatible test strips when the product system calls for them.
Assuming any bleach solution works is unsafe. North Carolina guidance warns that bleach weakens in hot water and recommends cool-water bleach solutions, while food-contact labels specify their own conditions. Never combine bleach with acids, ammonia, or other cleaners, and don't use household improvisation where the product isn't labeled for utensils.
Treating rinsing as sanitation confuses soil removal with microbial control. A rinse can remove soap and loosened debris, but it doesn't replace the final heat or chemical step. Conversely, a disinfectant intended for hard surfaces may require a rinse before food contact, so read the label rather than transferring a surface-cleaning habit to utensils.
Sponges deserve special scrutiny because they can carry a heavy microbial load. Review this practical resource on bacteria on kitchen sponges before deciding that a familiar sponge is clean enough for food-contact work.
Preventing Cross-Contamination from Cleaning Tools
A sanitized utensil can become contaminated again within seconds if it touches a dirty sponge, a used dishcloth, a wet sink, or a towel that has handled raw-food spills. The cleaning ecosystem matters. Research discussed in the food-hygiene literature identifies sponges as carrying the highest microbial load among common cleaning utensils, while reused dishcloths and hand towels can move organisms between tasks. Research on contamination from kitchen cleaning utensils supports treating these tools as potential contamination sources rather than neutral accessories.
Build a cleaner sink-side workflow
Use separate tools for raw-food cleanup and ready-to-eat food equipment where practical. A stiff brush often gives better mechanical action than a saturated sponge because it dries more readily and has fewer soft, absorbent surfaces. Whatever tool you use, clean it after the task, store it where it can dry, and replace it when it develops odor, visible soil, fraying, or persistent discoloration.
Don't place sanitized utensils directly on the sink edge or beside the drain. Set up a clean rack before the sanitizing step so you aren't forced to improvise a landing place. Keep the rack away from splash zones, and don't stack wet utensils tightly together because trapped moisture slows drying and creates contact points.
The drying rack is part of the sanitation system. A clean utensil needs a clean, draining place to finish the process.
Dishcloths and hand towels need task separation too. A towel used to wipe a raw-chicken spill shouldn't dry sanitized spoons, and a hand towel shouldn't double as a polishing cloth for food-contact equipment. Launder reusable textiles according to your household or facility procedure, and retire cloths that remain damp or develop an odor between uses.
Commercial kitchens can reinforce the workflow with color-coded tools, designated storage, and written cleaning schedules. Households can achieve the same control with simpler measures: one brush for dishes, a separate cloth for counters, a dedicated rack, and no towel drying after the final sanitizing step. Simply Hospitality's cleaning routines offers additional context on separating tasks and limiting cross-contamination.
Troubleshooting and Quick Reference Guide
Sanitation decisions become easier when you identify the constraint first. Is the utensil heat-tolerant? Can you measure temperature? Do you know the sanitizer concentration? Is the item visibly soiled or damaged? If the answer to any of these questions is unclear, pause rather than treating uncertainty as permission to use a shortcut.

Use this decision path
If the utensil is heat-tolerant and you can verify temperature, use the hot-water method at the validated threshold and hold time. A thermometer is more dependable than touch. Maryland food-code provisions preserve the historical benchmark of 170°F, or 77°C, for at least 30 seconds in manual hot-water sanitizing, while machine warewashing rules use measurable final-rinse endpoints that vary by machine type. Maryland's food-equipment and utensil regulation illustrates why equipment instructions and local code must be checked together.
If heat could damage the utensil, choose a food-contact chemical sanitizer labeled for the material and application. Prepare it with measured water and product, allow the full contact time, and air-dry. If you can't verify the concentration, don't rely on color, smell, or guesswork as a substitute for the label or an appropriate test method.
If the dishwasher leaves residue or poor results, inspect its filter and spray arms, clean them as directed by the manufacturer, and don't assume a normal cycle delivered sanitation. Items that emerge visibly dirty require washing again. For commercial operations, use the machine's required temperature verification and follow local food-code procedures.
If a utensil is heavily soiled, cracked, warped, or difficult to disassemble, remove it from service until it can be thoroughly cleaned, or replace it. A damaged utensil creates a repeatable hiding place for residue.
Sanitize after raw-food contact, illness-related contamination, or use by vulnerable diners. Routine washing may be sufficient for a lightly used utensil in a low-risk setting when no contamination event occurred, but the final decision should follow your local code, facility policy, product label, and manufacturer instructions.
Don't follow unsafe improvised advice such as treating vinegar as a universal sanitizer or using a bleach mixture without a food-contact label. If you need educational material on organisms, transmission, and environmental hygiene, BacteriaFAQ.com provides informational guidance alongside the product label and public-health rules that govern actual sanitation work.
A practical takeaway for safer utensils
The reliable answer to how to sanitize kitchen utensils is a controlled sequence, not a quick rinse: remove residue, wash with detergent, rinse, sanitize with validated heat or a labeled chemical product, and air-dry on a clean rack. Choose the method around the utensil material, measure the relevant temperature or concentration, respect contact time, and control the sponge, brush, cloth, towel, and rack that touch the item afterward.
For households, restaurants, schools, gyms, and care settings that need convenient support for hard, non-porous surfaces, we recommend Wipes.com. Select products by their label claims and intended use, and follow the stated contact time and food-contact instructions rather than assuming every wipe is suitable for utensils.
Make your next cleanup safer today. Set up a dedicated brush and clean drying rack, verify your sanitizer's label requirements, and process the utensils that handled raw food before they return to service.
Leave a Reply