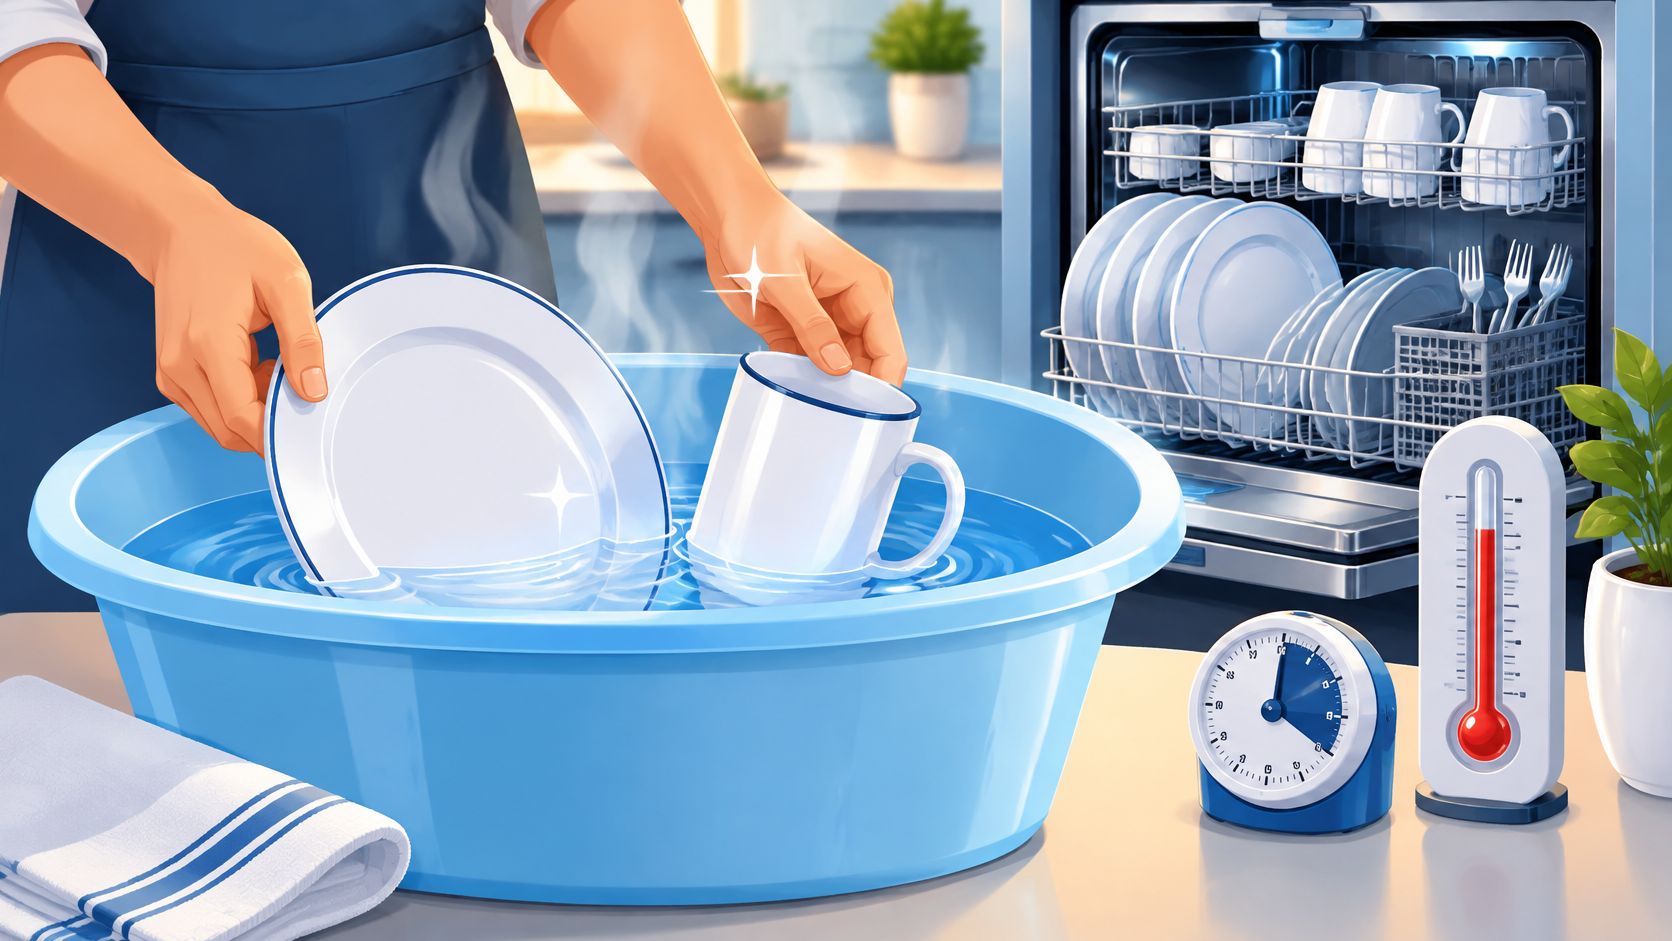
Water that feels too hot for your hands still isn't proof that dishes are sanitized. Food-service standards require a measured treatment after cleaning, not a hot rinse or a plate that looks spotless.
The practical answer to how to disinfect dishes starts with choosing the right job: routine washing, food-contact sanitizing, or illness-related precautions. For compatible dishes, a dishwasher's labeled sanitizing cycle is often a better choice than trying to maintain dangerously hot water in a household sink.
Sanitizing Temperatures and Contact Times at a Glance
Washing removes food and grease. Sanitizing requires a controlled treatment after that soil is gone. A brief rinse under the hottest tap setting doesn't demonstrate that every surface reached the necessary temperature for the necessary time.
The FDA Food Code specifies manual hot-water immersion at 77°C (171°F) and mechanical final-rinse minimums of 74°C (165°F) for stationary-rack, single-temperature machines and 82°C (180°F) for other machines. Those commercial machine settings aren't interchangeable with household dishwasher settings.
Sanitizing temperatures, strengths and contact times by method
| Method | Temperature or strength | Minimum time | Notes |
|---|---|---|---|
| Manual hot-water immersion, FDA Food Code | 77°C (171°F) | At least 30 seconds | Commercial benchmark |
| Mechanical final rinse, stationary-rack single-temperature machine | 74°C (165°F) | Manufacturer's validated cycle | FDA Food Code minimum |
| Mechanical final rinse, other machines | 82°C (180°F) | Manufacturer's validated cycle | FDA Food Code minimum |
| Hot-water sanitizing, NC State Extension | 170–180°F (77–82°C) | Use the applicable validated immersion procedure | Dishes, cutting boards, pots and pans |
| Bleach solution, CDC | 1 tablespoon unscented bleach per gallon of water | At least 2 minutes | No rinse; air-dry completely |
| Bleach emergency soak, USDA | 1 tablespoon unscented bleach per gallon of drinking-quality water | 15 minutes | Emergency use only |
| Boiling metal, ceramic and utensils, USDA | Rolling boil | 2 minutes | Emergency use only |
| Quaternary ammonium sanitizer | At least 24°C (75°F), at labeled concentration | Labeled contact time | Verify concentration with a test kit |
NC State Extension's kitchen-item guidance gives 170–180°F for hot-water sanitizing. For emergency treatment, USDA guidance specifies the table's 15-minute bleach soak or 2-minute boil for suitable washed items.
Read the method, not just the temperature
Find the method that applies to your equipment and materials. Match its temperature or chemical strength, then start timing only when the treatment reaches every surface.
Safety boundary: Commercial hot-water benchmarks aren't instructions to pour boiling water over dishes in a home sink.
Burns, uneven heating and damaged materials make that shortcut unreliable. Our explanation of whether hot water kills bacteria provides useful context for the difference between heat exposure and controlled sanitization.
How to Wash and Sanitize Dishes by Hand
Set up a dirty-to-clean workflow before you turn on the tap. Use separate washing, rinsing and sanitizing compartments or clean basins, with a clear drying space beyond them.
Keep the process visible near the sink.

Follow the dirty-to-clean sequence
Scrape before soaking. Empty plates, pans and utensils into the bin. Remove stuck-on food with a suitable scraper so the wash basin doesn't immediately become a food slurry.
Wash with detergent and mechanical action. Scrub rims, handles, undersides and utensil joints, not just the obvious eating surface. A dish brush is practical for greasy batches because you can inspect and rinse its bristles between items.
Rinse with clean water. Remove loosened food and detergent before moving an item into the sanitizer. Don't use the sanitizing basin as a substitute rinse basin.
Measure before sanitizing. Check hot water with a suitable thermometer, or chemical sanitizer with test strips matched to that product. The FDA Food Code's equipment and utensil provisions specify manual hot-water immersion at 77°C (171°F) for at least 30 seconds; chemical treatment requires its specified concentration and operating conditions. Use an immersion basket or appropriate handling equipment, never bare hands in sanitizing water.
Air-dry without wiping. Place items on a clean rack with enough space for drainage. Don't polish sanitized surfaces with a dish towel or stack dishes while they're wet.
Make the measurement a gate
No reading, no sanitizing batch. A tap that feels hot isn't a thermometer, and a chemical smell isn't a concentration test.
For commercial kitchens and childcare operations, record the sanitizer reading and the corrective action when it falls outside the required range. At home, keep the thermometer or correct test strips beside the basin rather than buried in a cupboard.
A finished batch should be dry and free of visible food or greasy film. That appearance confirms cleaning quality, not microbial safety, so retain the process check as well.
Change a cloudy or contaminated basin and replace a solution that fails its test. Don't compensate by leaving dishes in an unverified solution longer.
Bleach Sanitizing Without a Rinse
The no-rinse bleach method is a specific procedure, not permission to leave arbitrary bleach mixtures on plates. It suits compatible washable items when you can measure the dilution, immerse them completely and protect them while they dry.
The CDC's early-care and education guidance specifies 1 tablespoon of unscented household bleach per gallon of water, equivalent to 16 cups, followed by at least 2 minutes of complete immersion. It identifies regular unscented bleach commonly containing 5%–9% sodium hypochlorite, while product directions and applicable public-health requirements remain controlling.
Mix, immerse and dry
Start with washed, rinsed items. Food and grease interfere with sanitizer contact, so bleach isn't a replacement for scrubbing.
Measure the water and bleach into a clean, dedicated basin. Check the product's suitability before mixing, and don't substitute a scented or specialty formulation without directions supporting the intended use.
Lower items into the solution so every surface contacts it. Tilt cups and bowls to release trapped air, and separate utensils that rest against one another.
After the full immersion period, remove items with clean hands or clean tongs. Place them on a clean, unused towel or paper towel and let them air-dry completely without rubbing them dry.
Don't rinse after this particular CDC procedure. Rinse water can reintroduce germs.
That no-rinse direction belongs to this method. It doesn't override a different sanitizer label that requires rinsing.
Keep the chemistry separate
Never mix bleach with ammonia, acids, detergent or other cleaners. Empty and rinse cleaning equipment before preparing the sanitizing solution, and use a dedicated measuring spoon that won't return to food preparation.
Say a parent is sanitizing a child's plastic plate after a stomach illness. The useful checks are whether the plate permits bleach treatment, whether the dilution was measured and whether the plate stayed fully immersed, not whether the bucket smells strong.
Label the basin with its contents and preparation date. Prepare fresh solution for the task, keep children away and follow the product's storage directions.
Use this method for compatible washable items that can be submerged. Dishwasher-safe items generally belong in a functioning sanitizing dishwasher when available; delicate finishes, unsuitable metals and materials that prohibit bleach need another manufacturer-approved method.
Dishwasher Sanitizing Cycles and Their Limits
A labeled sanitizing dishwasher cycle is often more defensible than improvised hot-water hand washing. The machine controls a treatment cycle while the operator can focus on loading and detergent, rather than maintaining a scalding immersion basin.
The important word is labeled. A household cycle called hot, heavy or intensive shouldn't automatically be treated as a validated sanitizing cycle.
Dishwasher, hand washing, bleach and boiling compared
| Method | Core control | Best for | Main risk |
|---|---|---|---|
| Dishwasher with sanitizing cycle | Manufacturer-validated sanitizing program; commercial rinse requirements are machine-specific | Dishwasher-safe dishes, glasses and utensils that fit | Overloaded racks and blocked spray arms |
| Hand washing followed by hot-water sanitizing | Measured immersion temperature and full treatment time | Compatible items with suitable immersion equipment | Water feels hot but misses the target |
| Bleach solution | Measured dilution and complete timed immersion | Bleach-compatible washable items | Remaining soil or mixing with other cleaners |
| Boiling | Complete immersion for the applicable emergency procedure | Suitable metal, ceramic and utensils in an emergency | Burns and damage to heat-sensitive items |
Loading is part of the treatment
Scrape away food, add the correct dishwasher detergent and position soiled surfaces toward the spray. Leave space between plates, separate nested bowls and check that tall utensils don't block the spray arms.
A bowl wedged over another bowl can remain shielded throughout the cycle. Increasing heat won't solve a surface-access problem.
HYDAWAY's guide to avoid common dishwashing mistakes is a useful loading reference when dishes repeatedly emerge with food or film.
Confirm what your machine actually does
Check the manual for a sanitizing setting and any completion indicator. If the machine reports an interrupted or unsuccessful cycle, don't assume the load received the intended treatment.
Commercial operators should have a service technician check final-rinse performance and booster-heater operation when results or readings are questionable. Our guide to commercial dishwasher temperature requirements explains the equipment-specific considerations.
Some wooden boards, hand-painted pieces and plastics prohibit dishwasher treatment. Check each item's care instructions rather than assuming every kitchen item can tolerate heat and detergent.
Choose by compatibility and control: use the sanitizing dishwasher when the item permits it, a properly equipped manual process when it doesn't, or a compatible chemical method when heat treatment isn't practical. Ordinary hand washing remains a cleaning option, but it shouldn't be relabeled as sanitizing.
Common Mistakes That Leave Dishes Under-Sanitized
Say a café's sanitizer basin becomes cloudy after the lunch rush. An employee replaces it, but the next clear-looking batch still tests below the product's required concentration because the dose was guessed.
Appearance can reveal a problem, but it can't verify sanitizer strength. The operator needs the correct test kit and a defined response to a failed reading.

Match the correction to the failure
- Under-dosed sanitizer. Measure the dose, mix thoroughly and test before use. Recheck after replacement and whenever heavy use or contamination could change performance.
- Dilution from rinse water. Let excess rinse water drain before immersion. Refresh and retest the basin rather than repeatedly adding an estimated splash of concentrate.
- Wrong temperature or chemistry. The FDA Food Code's warewashing provisions specify manual wash water of at least 43°C (110°F) unless the detergent label specifies otherwise; iodine sanitizer requires at least 20°C (68°F), 12.5–25 mg/L iodine and pH 5.0 or lower, or the manufacturer's validated pH, while quaternary ammonium sanitizer requires at least 24°C (75°F) and its labeled concentration.
- Contact time cut short. Use a timer. A quick dip doesn't become adequate because the solution is stronger or warmer than expected.
- Blocked surfaces. Separate stacked plates and utensils before treatment. Sanitizer can't treat the food-contact surface where another item prevents contact.
- Contaminated drying tools. Leave sanitized dishes on a clean rack. Don't wipe them with the cloth used on the counter.
- Sanitizing before washing. Return visibly dirty items to the wash stage instead of trying to sanitize through residue.
Give someone responsibility for the checks
A log is useful only when staff know what to do with a failed result. Write down the acceptable range, the replacement procedure and who can stop the station until it's corrected.
TP Training's overview of food safety supervisor responsibilities provides helpful context for assigning that oversight.
Shift habit: Test at opening, after solution changes and after conditions that could compromise the basin. Record the correction, not just the failed reading.
Cutting Boards, Baby Bottles and Sick-Room Dishes
Routine dishwashing and illness-related disinfection serve different purposes. The CDC's cleaning, sanitizing and disinfecting guidance distinguishes removing soil from reducing germs, and recommends washing soiled eating utensils with detergent and hot water, by hand or in a dishwasher.
A product intended for general-purpose surfaces is not automatically suitable for plates, bottle parts or cutlery. Check its label for food-contact approval and whether rinsing is required. A sanitizing dishwasher cycle can handle compatible items without relying on improvised hot-water hand washing.

Handle each item according to its design
- Cutting boards. Scrub both faces, edges and grooves, then use a compatible sanitizing method. Keep a separate board for raw meat. Replace boards with deep damage that prevents thorough cleaning.
- Baby bottles. Disassemble parts and clean them after use. Follow the manufacturer's instructions for dishwasher, steaming or boiling, since one emergency boiling time does not suit every design. Let parts dry fully before reassembly.
- Sick-room dishes. Collect them in a designated bin and wash promptly. Wear gloves when handling visible contamination, then wash your hands.
The guide to how to clean baby bottles covers the small parts that need particular attention. For readers shopping for themed feeding gifts, find equestrian baby mealtime gifts; check each item's care instructions before use.
Separate dish care from counter disinfection
Wash dishes using the appropriate process, and use a separately approved product on surrounding surfaces when needed. A wipe's antibacterial claim does not establish that it works against the illness involved.
One EPA-registered wipe label specifies 1 minute of wet contact against Pseudomonas aeruginosa and Staphylococcus aureus on hard, nonporous surfaces. That is a product-specific surface claim, not a dish-sanitizing instruction or evidence of effectiveness against every pathogen.
Confirm Your Dish Routine Before the Next Meal
A reliable dish routine starts with a method you can check. Before washing, confirm that it suits the dishes and the equipment available.
Choose a sanitizing dishwasher cycle for compatible items, or use a measured manual method when extra sanitizing is needed. Keep the thermometer, matching test strips and timer nearby so you can verify the process rather than guess. Commercial and childcare operators should record readings and corrective actions.
After treatment, air-dry dishes on a clean rack and store them only when fully dry. Replace worn cleaning tools to avoid transferring contamination back to clean surfaces. Keep bleach in its original container, away from ammonia and acidic cleaners, and label any prepared solution.
When shopping for environmental cleaning wipes, check each product's EPA-registered label for the intended surface, organism claims, wet contact time and food-contact restrictions before use.
Before the next meal, choose tonight's dish method and verify the temperature or sanitizer concentration before washing begins.
Leave a Reply