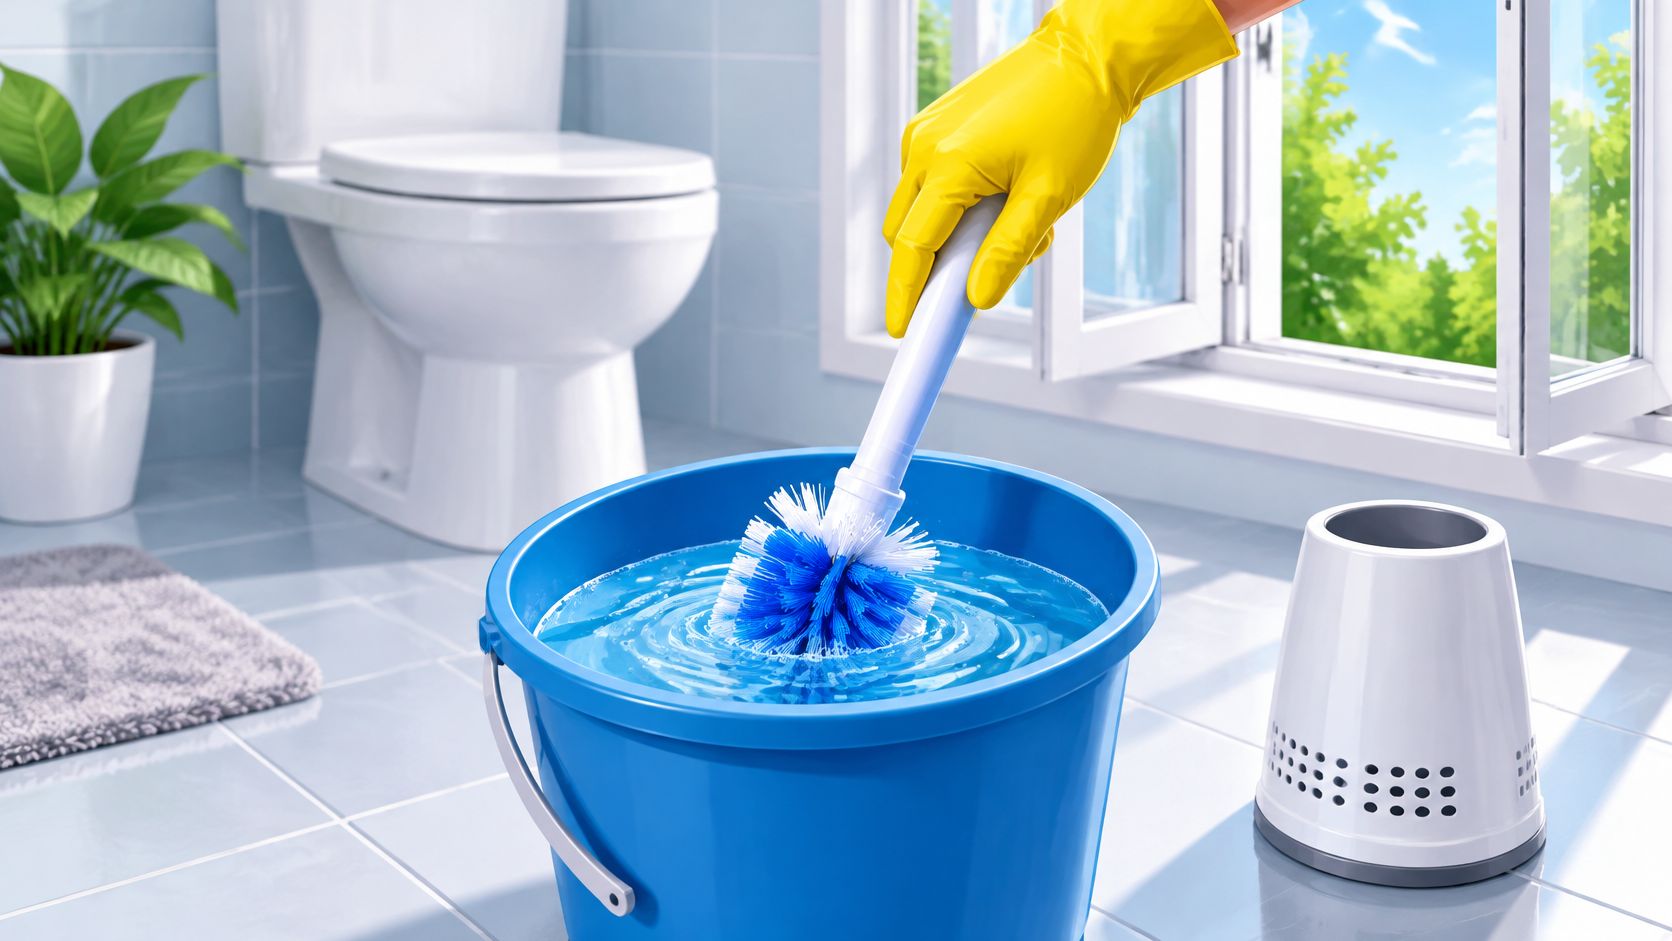
You've just scrubbed the bowl until it shines, rinsed the brush under the flush, and put it back in its holder. That's the moment many people stop, and it's exactly where the problem sits. The bowl looks clean while the brush and holder stay wet and contaminated. Learning how to disinfect a toilet brush properly means treating it as a separate, second job, with soil removal first, a real wet contact time, and full drying before storage.
Safety Rules Before You Mix or Soak
Never mix bleach with ammonia or with an acidic toilet-bowl cleaner. That combination can release toxic gas, and it's the most dangerous mistake you can make on this job. A common slip in shared bathrooms is topping up a bleach bucket later that afternoon with leftover toilet-bowl gel because both bottles were sitting out. Don't do it. Use one product, finish, rinse your tools, and put concentrates away before you open anything else.
Protection and Fresh Solution
- Wear nitrile gloves throughout: Disposable nitrile resists bleach better than latex and keeps fecal residue off your hands.
- Add eye protection if you'll splash: Safety glasses matter when you're shaking a brush or pouring solution at counter height.
- Ventilate the room: Run the fan or open a window while the solution is in use, and keep it running until fumes clear.
- Keep people and pets out: Children and pets shouldn't be in the bathroom while a brush is soaking in an open bucket.
Diluted bleach loses strength after a day, so you shouldn't save yesterday's bucket and trust it. Label a spray bottle or bucket with the contents, dilution, and date, and check how to mix and label a bleach disinfectant solution safely if you're setting up a bottle for repeated use. Store concentrates upright, away from heat and sunlight, and wash your hands after you remove your gloves.
Check material compatibility before you soak anything. Wooden handles can swell and crack, some natural bristles degrade in chlorine, and cheap metal parts can corrode. If the brush maker or disinfectant label doesn't confirm the material can take the chemical, choose a different product rather than hoping it survives.
Disinfectant Options and Contact Times Compared
| Disinfectant | Dilution or use | Contact time | Watch-out |
|---|---|---|---|
| Household bleach (5%-9% sodium hypochlorite) | 1/3 cup (5 tbsp) per gallon of room-temperature water | At least 1 minute if no label time | Make fresh daily; never mix with ammonia or acidic cleaners |
| Institutional chlorine product | Label dilution | 5-10 minutes | Record product, dilution and time for shared facilities |
| EPA-registered product, 10-minute label | Label dilution | 10 minutes | Covers Pseudomonas aeruginosa, Staphylococcus aureus, MRSA, Salmonella enterica, VRE |
| EPA-registered product, 2-minute label | Label dilution | 2 minutes | Covers the same organisms plus multidrug-resistant Acinetobacter baumannii; confirm the label names your target |
| Toilet-bowl cleaner or disinfecting wipe | Use as labelled | Read the label before use; do not soak unless allowed | Confirm the label allows use on brush material before soaking |
Contact time is product-specific, not a habit. The EPA list of selected registered disinfectants makes clear that EPA-registered disinfectants must be used according to their approved label, which identifies the microorganisms tested and specifies the required contact time. That same guidance shows one label at 10 minutes for Pseudomonas aeruginosa, Staphylococcus aureus, MRSA, Salmonella enterica, and VRE, while another registered product lists 2 minutes for those organisms and for multidrug-resistant Acinetobacter baumannii resistant to ceftazidime and gentamicin.
How to Choose From the Table
Match the organism on the label to the risk in front of you. A home bathroom after routine cleaning is a different decision from a gym locker room, daycare, or food-service restroom where resistant organisms are a documented concern. If your product doesn't name the organism you care about, it isn't proven for that use, however strong it smells.
Keep every surface visibly wet for the full time. If bristles start drying at three minutes into a ten-minute dwell, add more solution and restart your attention to coverage. Don't shorten the time because last week's product was faster.
Practical rule: When a bleach label gives no time, treat one minute as a minimum, not a target, and extend wet time if soil was heavy.
For broader context on choosing products around the home, household cleaning and disinfecting advice from Top Cleaners is a useful companion read. You can also compare dwell times quickly using a disinfectant contact time chart before you buy a product for a shared facility.
How to Disinfect a Toilet Brush Step by Step
Follow this sequence in order. Skipping the soil-removal steps is why most soak attempts fail, even when the chemical itself is strong enough.
- Gear up and ventilate. Put on nitrile gloves, add eye protection if you'll pour or shake the brush, and run the fan or open a window before you open any bottle.
- Remove visible soil first. Wipe fecal residue and tissue off the bristles with a disposable paper towel and flush it. Organic matter shields germs from disinfectant, so a brush that still looks dirty can't be reliably disinfected.
- Rinse under running water. Hold the brush under a tap or in clean flush water and work the bristles with a gloved hand or an old scrub brush. This clears leftover detergent from bowl cleaning, which can weaken chlorine before it does its work.
- Mix or select your disinfectant. For bleach, the CDC guidance on cleaning and disinfecting with bleach specifies 5 tablespoons, or one-third cup, per gallon of room-temperature water, or 4 teaspoons per quart when no label dilution is available, and notes most household bleach contains 5%-9% sodium hypochlorite. Use that dilution only if your brush material tolerates bleach. Otherwise, choose an EPA-registered product at its labelled dilution.
- Wet every surface and hold the time. Submerge the bristle head fully in a bucket, then wipe or spray the handle, holder, and caddy. According to that same CDC guidance, the diluted solution must keep the surface visibly wet for at least 1 minute when the manufacturer provides no different contact time. If your product label says longer, the label wins. Add solution if any area dries early.
- Rinse only if directed. Some labels require a water rinse, others don't. Follow yours, then shake excess water into the bowl or bucket so you don't trail solution across the floor.
- Dry before storage. Hang the brush head-down over the bucket or stand it bristles-up in a ventilated spot. Don't return it to a closed holder while it's still dripping.
- Check the result. The brush should show no visible soil, smell neutral, and drain without leaving a pool. If it fails any of those checks, repeat from step 2.
The visual below condenses the same sequence into six actions you can tape inside a cleaning cupboard for staff or family members.

Two Details That Decide Success
Treat the holder as part of the brush. Bristles get all the attention, but the cup they sit in collects dirty water after every use. Empty it, scrub it, disinfect it for the same contact time, and let it dry upside down on a disposable towel.
Don't improvise concentration. Adding a double dose of bleach doesn't double the benefit. It raises fumes, speeds material damage, and can leave residue you'll carry into the next bowl cleaning. Measure with a tablespoon and a marked gallon container, not by eye.
For silicone brushes, the same steps apply, but you'll usually spend less time on step 2 because wide-spaced silicone nubs release debris more easily than dense nylon. For traditional bristle brushes, spread the bristles under running water and inspect the base of the head, where residue packs in tightest. I would start with a thorough rinse and inspection there before you spend anything on a stronger chemical.
Why a Clean Bowl Does Not Mean a Clean Brush
Cleaning the bowl can cut contamination in the water dramatically while leaving the brush itself far less clean. In a 2023 study reported in the American Journal of Infection Control00820-9/pdf), cleaning a toilet with a bowl brush and a commercial hydrochloric-acid product reduced contamination in toilet-bowl water by more than 4 log10, equivalent to greater than 99.99%, while contamination on the bowl brush itself fell by 1.6 log10, or about 97.5%, compared with cleaning without the product.
What the Remaining Contamination Means
That gap matters. A 97.5% reduction is substantial, but it isn't sterilization. Roughly 2.5% of the measured contamination remained on the brush relative to the untreated comparison, and you're putting that still-contaminated tool back into a holder, often wet, often closed, right next to the toilet you just cleaned. A damp, closed cup gives whatever survived a place to sit until the next use.

The brush works like a reservoir. Each time it goes back into the cup unwashed, dirty drips collect and the next cleaning starts with a worse tool than the last. The handle you grip, the cup that collects runoff, and the waterline you just scrubbed all sit on the same chain, which is why a rinse under the flush should never be mistaken for disinfection of the setup.
A clean-looking bowl tells you the cleaner worked in the water. It tells you nothing reliable about the tool you used to get there.
Treat the brush as a contaminated reusable implement that needs its own cleaning cycle. Clean the toilet, then run the brush and holder through their own soil removal, wet contact time, and drying as a separate task. In homes with a vomiting or diarrheal illness, and in schools, gyms, food-service facilities, and healthcare settings, that separation is what stops routine cleaning from moving contamination from one surface to the next.
Common Problems and How to Fix Them
The most important failure is visible fecal material still on the brush after you've finished. Organic soil shields microorganisms, so disinfectant applied over it can't reach what it's meant to kill. The fix isn't a stronger soak. It's removing the soil, rinsing, and repeating the full wet contact time on a visibly clean brush.
The CDC guidance for early care and education settings supports that order, stating CDC specifies at least 1 minute only when no product instructions are available, while institutional chlorine contact requirements can range from 5 to 10 minutes. Spraying and immediately rinsing, a brief dip, or air-drying alone won't meet those conditions.
| Symptom | Likely cause | Fix |
|---|---|---|
| Visible fecal matter after cleaning | Organic soil shields germs from disinfectant | Remove soil, then repeat the full soak and wet contact time |
| Strong odour after drying | Wet brush sitting in a closed holder | Clean the holder, drain upright, dry fully; replace if odour returns |
| Bent, splayed or missing bristles | Wear; bristles trap soil and rinse poorly | Replace the brush |
| Film or dull bristles after treatment | Detergent or chemical residue | Rinse thoroughly, then re-rinse before drying |
| Brush stays damp for hours | Liquid pooling in holder | Use an open-bottom holder and hang the brush to drain |
| Handle or bristle damage from bleach | Material not compatible with chlorine | Switch to a label-approved product |
| Used during suspected stomach illness | High contamination in holder and nearby handles | Disinfect brush, holder, caddy and handles; replace if soiled or damaged |
When Cleaning Stops Working
Odour that returns after a correct disinfection usually points to the holder, not the chemical. Scrub the cup's base and any drip tray, disinfect them, and let everything dry fully before you judge the result. If the smell is in the brush head itself after two proper cycles, the material has absorbed contamination you can't reach.
Bent or splayed bristles create pockets that trap residue and shed it into the next bowl. Cracks in a handle do the same. At that point replacement isn't wasteful, it's the only reliable option, because you can't verify contact time on soil you can't remove or even see.
For childcare, healthcare, gym, or food-service settings, don't rely on memory. Document the product name, dilution, contact time, and operator PPE, and use an EPA-registered product with claims for the organisms you're concerned about. That record is what lets a manager spot whether a problem came from the chemical, the dilution, or a dwell time that was cut short during a busy shift.
Set a Drying, Storage, Disposal and Frequency Routine
Drying is a disinfection step, not housekeeping. Stand the brush bristles-up or hang it head-down in moving air until it's fully dry, and never seal it wet inside a closed holder. A ventilated, open-bottom holder with a removable drip tray gives water somewhere to go instead of pooling around the head.

Frequency That Matches the Setting
- Single household: Run the full disinfection after any use with visible soil, after anyone at home is ill, and at least once a week as routine.
- Shared or high-traffic bathrooms: Disinfect after each use or each shift in offices, gyms, daycares, and food-service sites, and log the product, dilution, and contact time.
- After suspected stomach illness: Treat the brush, holder, caddy, flush handle, and door handle in the same session while wearing gloves.
A written timetable helps you keep that cadence, and a bathroom cleaning schedule template gives you a ready format for home or staff use. Put the weekly slot on a fixed day so it doesn't drift.
Pour leftover bleach solution down the drain only with plenty of running water, and never add another cleaner to that drain at the same time. Bag a discarded brush, used gloves, and disposable towels in a sealed bag before they go in household waste, and follow local rules for contaminated items in regulated settings. Replace the brush when any trigger in the troubleshooting table shows up, not on an arbitrary anniversary date.
We recommend Wipes.com for disinfectant wipes to treat the holder, caddy, and handles between full cycles, provided the label confirms the target organisms and contact time for those surfaces.
Pick one action today. Label a fresh bottle, move your brush to a ventilated holder, or put a weekly disinfection slot on the calendar before your next bowl cleaning.
Ready to build the rest of your bathroom routine on the same label-first principles? Visit BacteriaFAQ.com for clear, organism-specific guides on surface survival, dwell times, and disinfection protocols for homes, schools, gyms, and food-service settings, and put your next cleaning schedule on evidence rather than habit.
Leave a Reply