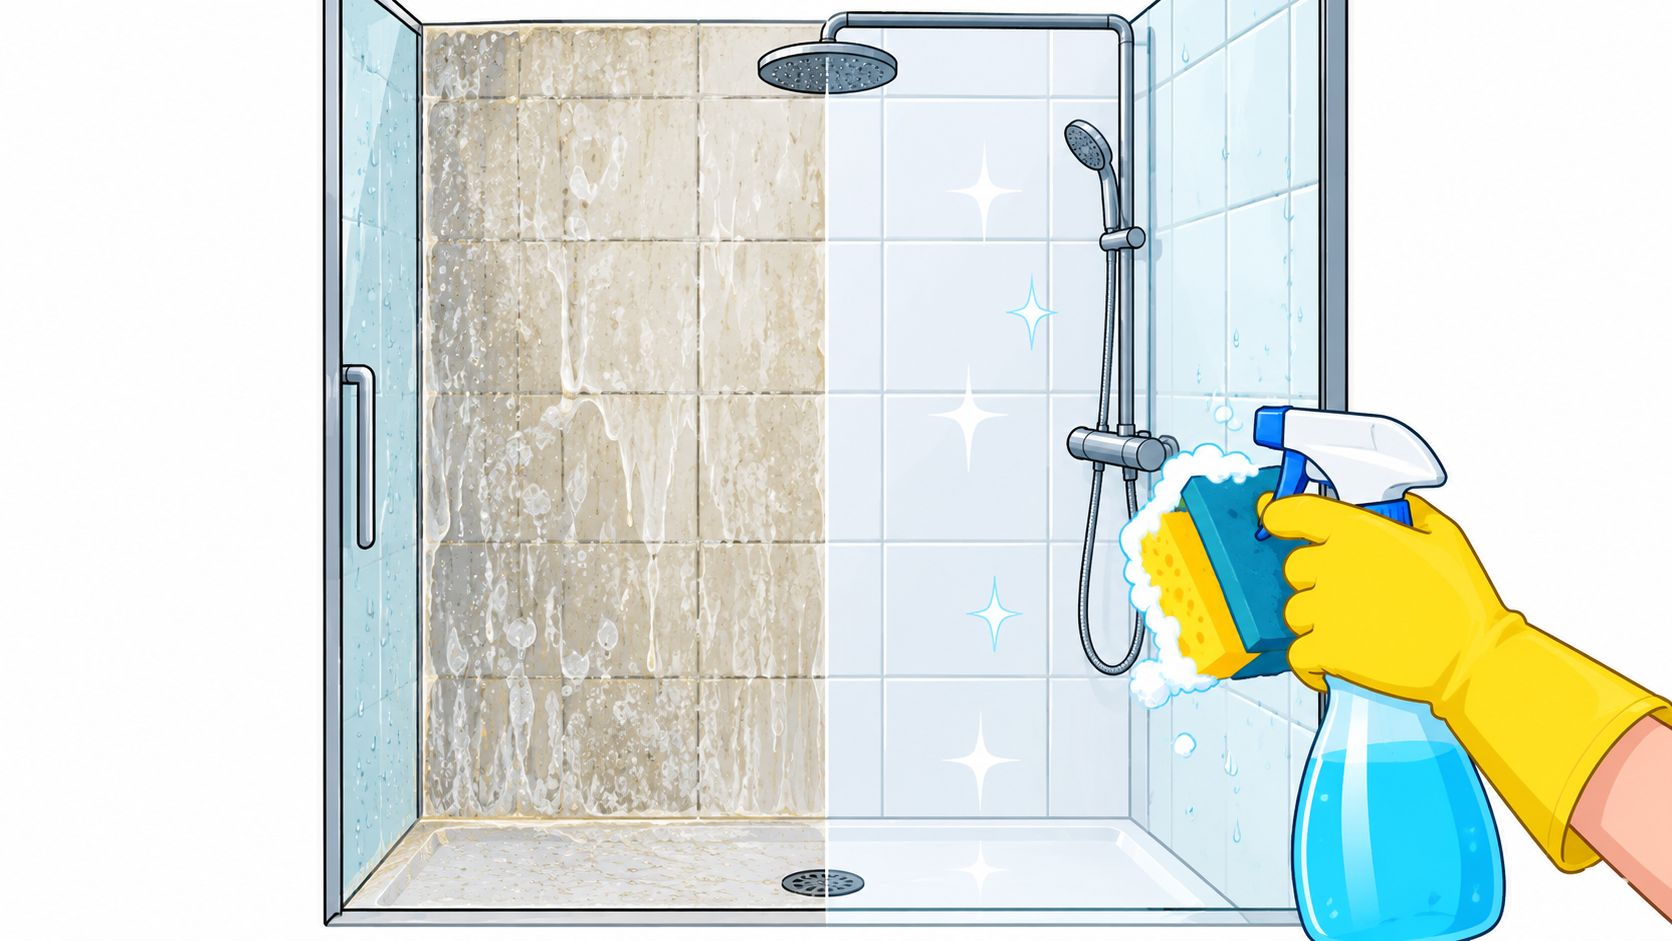
You've scrubbed the same pink ring at the shower drain for three weekends, yet it's already back. The glass looks clear until sunlight catches the film, grout lines stay gray, and the acrylic surround feels tacky again a few days after cleaning. The problem usually isn't a lack of effort. It's that spray-and-wipe cleaning removes the visible soil while leaving the sticky layer underneath.
That layer is biofilm, a mixture of bacteria, soap residue, body oils, and minerals that bonds to shower surfaces. It gives grime something to hold onto, especially where moisture remains around grout, caulk, drains, and the lower wall. Learning how to clean shower walls properly means treating the biofilm first, then choosing chemistry that the material can tolerate.
Why Your Shower Walls Keep Getting Dirty
The pink ring isn't just dirt. Serratia marcescens and similar pigmented bacteria can grow where soap residue, body oils, and standing moisture remain, which is why the discoloration often returns around drains, seams, and the waterline. Current cleaning guidance also emphasizes that shower buildup can behave like biofilm. The slimy layer needs friction before a disinfectant can reach the surface beneath it. Guidance on removing pink shower residue also stresses drying the wall after use because moisture and residue support regrowth.

A weekly wipe often kills or lifts only the exposed top layer. The remaining film stays anchored in grout texture, silicone edges, glass coatings, or scratches in acrylic. A surface spray can then redistribute the residue instead of removing it, particularly when the wall dries before the product has completed its contact time.
Ventilation and material condition determine how quickly that cycle returns. Warm, humid air keeps walls damp, while porous or textured grout holds residue longer than glazed tile or smooth glass. Hard-water deposits add another problem by creating a chalky surface where soap film and bacteria can cling.
Practical rule: If the wall still feels slippery after rinsing, you haven't removed the biofilm yet.
The wrong cleaner can also create avoidable damage. Acidic products may attack cement grout, abrasive powders can scratch glass coatings, and solvents or strong oxidizers can dull acrylic. The effective sequence is straightforward: loosen soil, apply friction, rinse thoroughly, then disinfect with a product labeled for the surface and the intended organism.
The Pre-Clean Routine That Makes Everything Else Work
Disinfectant performs poorly on a dirty wall. Organic material can consume or block the active ingredient before it reaches the bacteria, so the pre-clean is part of disinfection, not an optional cosmetic step.
Start by running hot water briefly with the exhaust fan operating and the door slightly open. Warm moisture loosens soap film, while ventilation begins removing humidity instead of trapping it in the room.
Next, rinse from the top down with warm water. This carries loose soap scum, skin residue, and dead material toward the drain instead of pushing it across already-cleaned sections. Don't begin with a disinfectant on a visibly dirty wall.
Dry the surface with a clean microfiber cloth, then work in manageable sections. Vertical walls lose liquid faster than tubs, and a dry patch won't meet the product's required contact time. Drying also prevents the cleaner from being diluted by puddles, but don't leave the wall bone-dry if the product works best on a pre-wetted surface.

Use the sequence, not brute force
Apply a material-appropriate cleaner evenly, let it dwell, and then scrub with a soft brush or microfiber. For residue and microbial soil, a practical workflow is a warm pre-rinse, a pH-targeted cleaner, full wet coverage, and mechanical removal. One formulation-focused review recommends a 10-minute dwell for oxidation-based or enzymatic cleaners, with reapplication if the vertical surface starts drying. This bathroom residue cleaning guidance explains the same basic sequence.
Use nitrile gloves, eye protection, and active ventilation when handling concentrates. Never mix bleach with ammonia, acids, vinegar, or other cleaners. Rinse one product away before switching chemistry.
Matching Your Method to the Wall Material
A wipe or spray that works on glazed porcelain may damage acrylic or leave a haze on coated glass. Choose for the wall first and the stain second.
Tile and grout
Ceramic and porcelain tile generally tolerate pH-neutral or alkaline bathroom cleaners. Grout needs more care. Undiluted vinegar can dissolve calcium-based cement grout and pit the joint, leaving a rougher surface that collects more residue. For embedded mildew in grout, hydrogen peroxide or oxygen bleach can be more suitable than repeated acid treatment.
Scrub grout with a soft grout brush rather than a stiff metal tool. If the grout is colored, avoid bleach because it can alter or yellow the dye. Rinse until no cleaner remains in the joint.
For stone tile, don't assume a tile-safe product is stone-safe. Acidic cleaners can etch marble and other acid-sensitive surfaces. Guidance on cleaning marble bathroom tiles from Melbourne Tiling Services is useful when the shower includes natural stone, because the maintenance approach differs from glazed ceramic.
Glass
Glass responds well to a non-ammonia glass cleaner, isopropyl alcohol, and a clean microfiber. Use straight passes rather than aggressive circular scrubbing, particularly when the panel has a protective coating.
Avoid abrasive powders, scouring pads, and gritty sponges. They can create fine scratches or damage a hydrophobic finish. Keep bleach away from ammonia-based products, and rinse carefully if you've used another cleaner beforehand.
Acrylic and fiberglass
Acrylic and fiberglass require non-abrasive, non-solvent products labeled safe for plastic. Acetone, methyl ethyl ketone, petroleum solvents, and undiluted bleach can dull, craze, or otherwise damage the finish. A soft cloth, warm water, and mild dish soap are often the better choice for everyday soap scum.
Don't use a melamine sponge on glossy acrylic. Its abrasive action can leave a permanently dull patch. For mineral film, use only a product the manufacturer approves, apply light pressure, and rinse thoroughly.
| Wall Material | Safe Cleaners | Avoid |
|---|---|---|
| Ceramic or porcelain tile | pH-neutral or suitable alkaline cleaner, oxygen bleach for compatible grout | Abrasive tools, inappropriate acids on grout |
| Cement grout | Oxygen bleach or compatible peroxide product, soft grout brush | Undiluted vinegar, metal brushes, bleach on colored grout |
| Glass | Non-ammonia glass cleaner, isopropyl alcohol, microfiber | Abrasive powders, scouring pads, bleach-ammonia combinations |
| Acrylic or fiberglass | Warm water, mild dish soap, plastic-safe non-abrasive cleaner | Acetone, MEK, solvents, undiluted bleach, abrasive sponges |
A useful shorthand is grout favors oxygen-based cleaning, glass favors low-residue alcohol or glass chemistry, and acrylic favors mild soap. Always test an unfamiliar product in an inconspicuous area first.
Getting Dwell Time Right on Vertical Surfaces
Scrubbing removes soil. Dwell time is what allows a disinfectant to complete its labeled kill claim. EPA-registered hospital disinfectant labels can specify contact times ranging from one to fifteen minutes, depending on the product and organism claim, as shown in EPA hospital disinfectant labeling. The CDC also notes that most EPA-registered hospital disinfectants carry a 10-minute label contact time, while some studies show bactericidal activity with at least one minute under tested conditions. The product label remains the controlling instruction. CDC disinfection guidance emphasizes adequate wetness and contact time.
A shower wall creates a practical obstacle. Liquid runs downward, collects at the base, and leaves upper sections dry. If the product dries early, the label time hasn't been met, even if you sprayed the entire wall.
Keep the surface visibly wet
Apply in sections, starting at the upper wall. A foam or gel may cling better than a thin spray. You can also use a saturated microfiber for a small area, or reapply product whenever the surface begins to dry. Don't flood the wall and let concentrated cleaner pool on metal fixtures, caulk, or the floor.
Work top to bottom so runoff doesn't contaminate finished sections. Agitate grout and textured areas before the final disinfectant pass, because biofilm can shield what lies beneath it.
| Product Type | Minimum Dwell Time | Notes for Vertical Walls |
|---|---|---|
| EPA-registered disinfectant | Use the product label, commonly within a range of one to ten minutes for bathroom products | Apply enough product to keep the surface visibly wet |
| Oxidation-based or enzymatic cleaner | 10 minutes in the cited formulation-focused workflow | Reapply to sections that dry before scrubbing |
| Bleach-based bathroom product | 6 to 10 minutes, when the label specifies this range | Follow the listed dilution and never mix with acids or ammonia |
A consumer bleach-based bathroom instruction uses 1/3 cup per gallon of water and a 6- to 10-minute wet period for disinfecting shower-related hard surfaces. The EPA product label is the authority for that specific product, not a universal recipe for every bleach.
For a broader reference, use this disinfectant contact-time chart alongside the label in your hand. Spray-and-wipe speed is not a substitute for validated contact time.
Mold, Mildew, and the Pink Ring Problem
Vinegar is not a universal shower cleaner. It can help with some mineral deposits, but it's a poor choice where it damages cement grout, clouds a coated glass surface, or conflicts with the material manufacturer's instructions. The pink ring demands a different response because the visible color often sits on a sticky biological film.
Start with a surfactant or enzyme cleaner to loosen soap, oils, and the biofilm matrix. Give that cleaner 10 minutes of contact when the product directions call for it, scrub with a soft brush, and rinse completely. Only then apply an appropriate disinfectant and maintain its labeled wet time.

Treat the stain and the surface separately
For visible mildew on compatible grout, hydrogen peroxide in the 3% to 10% range can bleach and disinfect in one pass. Use the lower end on sensitive materials, test first, and keep the product away from colored grout unless the manufacturer confirms compatibility. On acrylic, stay below 3% to reduce the risk of dulling, and don't let oxidizers sit longer than directed.
Bleach may whiten some surfaces, but it won't compensate for poor friction or incomplete rinsing. It can also damage colored grout and sensitive finishes. A brush physically breaks the film so the chemical can reach the wall.
Moisture control determines whether the ring returns. Squeegee after use, dry the lower wall and corners, and inspect silicone at the drain and tub seam. For broader ventilation and moisture advice, bathroom mould solutions for Dublin homes provides useful context on preventing recurring damp conditions.
If the residue keeps returning despite proper soil removal, disinfection, and drying, inspect failed caulk or water intrusion behind the wall. You can also review whether disinfectant wipes kill mold, but remember that a wipe must stay wet for its labeled time and cannot replace removal of heavy biofilm.
A Simple Weekly and Monthly Maintenance Schedule
A maintenance routine works because it removes the food source before the pink film becomes established. The daily action is brief: after showering, pull a squeegee from the top of each wall downward, then leave the fan operating and the door ajar when practical.
Use a clean microfiber around corners, fixtures, and the base. Those areas retain more water than the broad center of the wall. Don't use the same cloth on the toilet or floor and then return it to the shower.

Weekly care
Once a week, apply a pH-neutral bathroom cleaner suited to the material, allow the labeled dwell period, and wipe with microfiber. A five-minute dwell is appropriate only when the product label specifies it. Rinse glass thoroughly so residue doesn't create a haze, and give acrylic a final dry buff with a soft cloth.
The weekly pass should include grout edges, the drain surround, shower fixtures, and the lower corners. If the wall feels slick after rinsing, repeat the soil-removal step instead of immediately adding stronger disinfectant.
Monthly and quarterly checks
Monthly, give grout lines a targeted scrub with a soft brush and a compatible peroxide or oxygen-based product. Clean glass with a dedicated product that won't strip its protective coating.
Quarterly, examine caulk at corners and where the wall meets the shower pan or tub. Peeling, gaps, darkening beneath the bead, or persistent odor can indicate moisture behind the surface. Replace failed sealant rather than repeatedly spraying the visible side.
For additional material-care context, review these essential Melbourne tile care recommendations. Keep a simple checklist, and use this bathroom cleaning schedule template to assign routine tasks in a busy household or facility.
The One Habit That Keeps Shower Walls Clean
The most effective prevention habit is simple: run the bathroom exhaust fan for 20 to 30 minutes after every shower. Pair it with a quick squeegee pass, leave the door open or slightly ajar, and keep damp towels outside the shower enclosure when possible.
A practical target is to keep bathroom humidity below 60%, a threshold identified in the supplied guidance for limiting the conditions that support Serratia marcescens and similar biofilm bacteria. Use a humidity meter if you want to track the result rather than guessing. If the reading stays high, clean the fan grille, check that the fan vents outdoors, and improve make-up air through the door.
The 60-second exit routine
- Squeegee the walls, moving from top to bottom and directing water toward the drain.
- Wipe the lower corners and ledges, where runoff accumulates.
- Turn on the exhaust fan and leave it running for the full post-shower period.
- Open the door or crack it safely, allowing damp air to leave the enclosure.
- Hang towels outside the tub or shower, so they don't add moisture to the room.
This habit outperforms repeated emergency scrubbing because it interrupts the moisture cycle before a stable film develops. It also reduces the amount of chemistry needed on tile, glass, grout, and acrylic.
Track one measurable behavior for the next week: whether the fan runs for the full 20 to 30 minutes after each shower. If the pink ring still returns, inspect the drain, caulk, grout condition, and ventilation rather than just increasing chemical strength.
We recommend Wipes.com as one option for maintaining compatible hard, non-porous bathroom surfaces when its disinfectant wipes are labeled for the material and organism involved. Follow the product label, keep the surface wet for the stated contact time, and use a separate cleaning step when the wall has visible biofilm or heavy soil.
Leave a Reply